What happens when an individual uses Single sign-on?
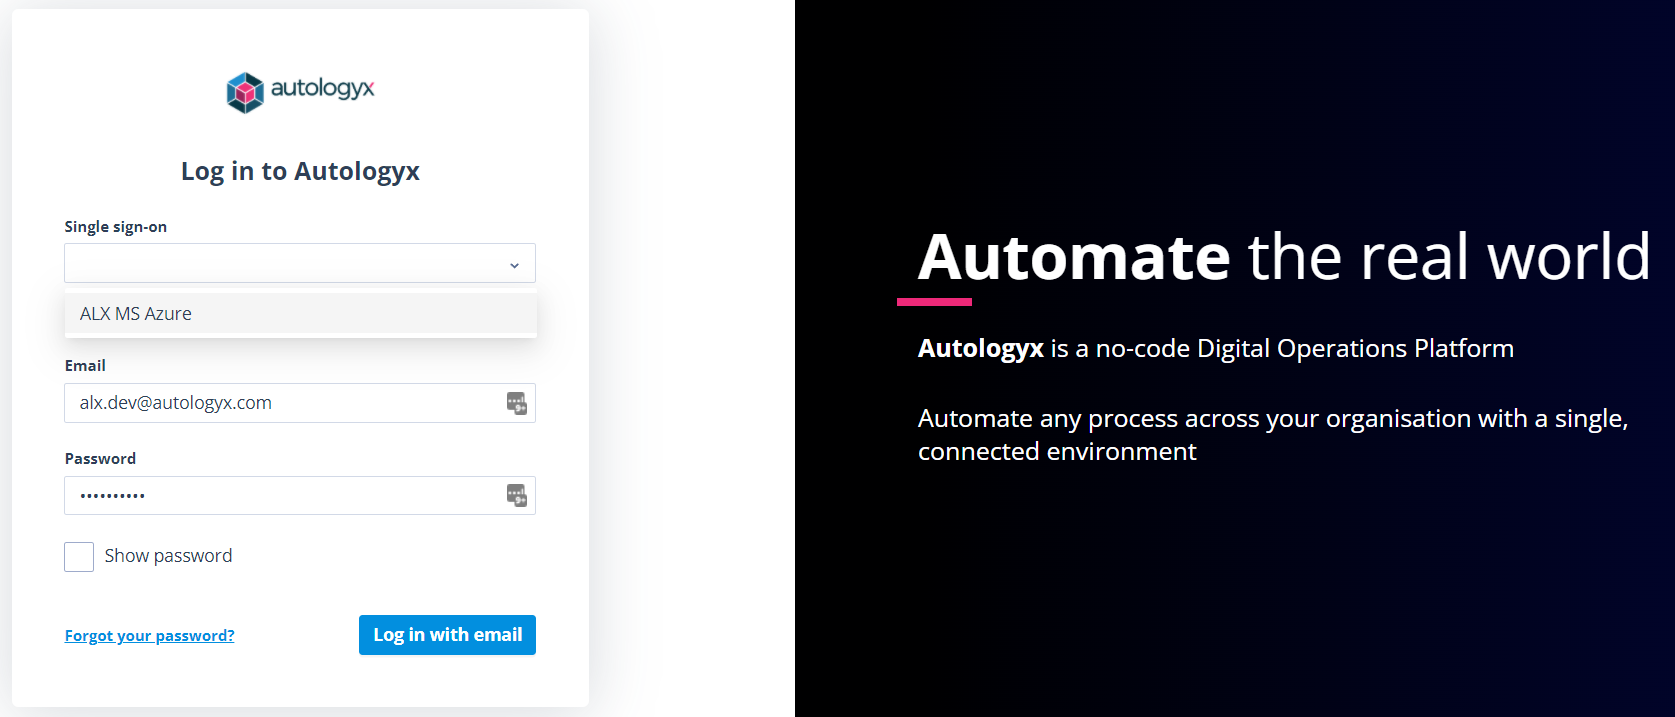
If Single sign-on has been enabled, the Log in page displays a Single sign-on dropdown.
All enabled Single sign-on configurations are listed in this dropdown.
The Email and Password fields remain visible because some users may still sign in using standard authentication.
When a user selects Single sign-on
If the user is already signed in to the Single sign-on provider, Catalyst checks whether their email address matches a user account.
The following outcomes are possible:
- If the user has an active account with a matching email address, they are taken to the Landing page.
- If the user has a non-active account with a matching email address, the account status is changed to Active, the activation date is set to the first SSO login date, and the user is taken to the Landing page.
- If the user does not have an account, they see an Access denied message.
Note: Different behaviour applies if Automatically create user is enabled in the Single sign-on configuration.
If the user is not already signed in to the Single sign-on provider, they are redirected to the provider's login page.
After successful authentication with the provider, Catalyst checks the user's account according to the scenarios above.
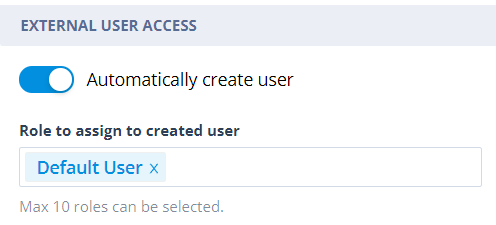
Automatically create user
If Automatically create user is enabled in the Single sign-on configuration, Catalyst can create a new user account when someone signs in through the provider for the first time.
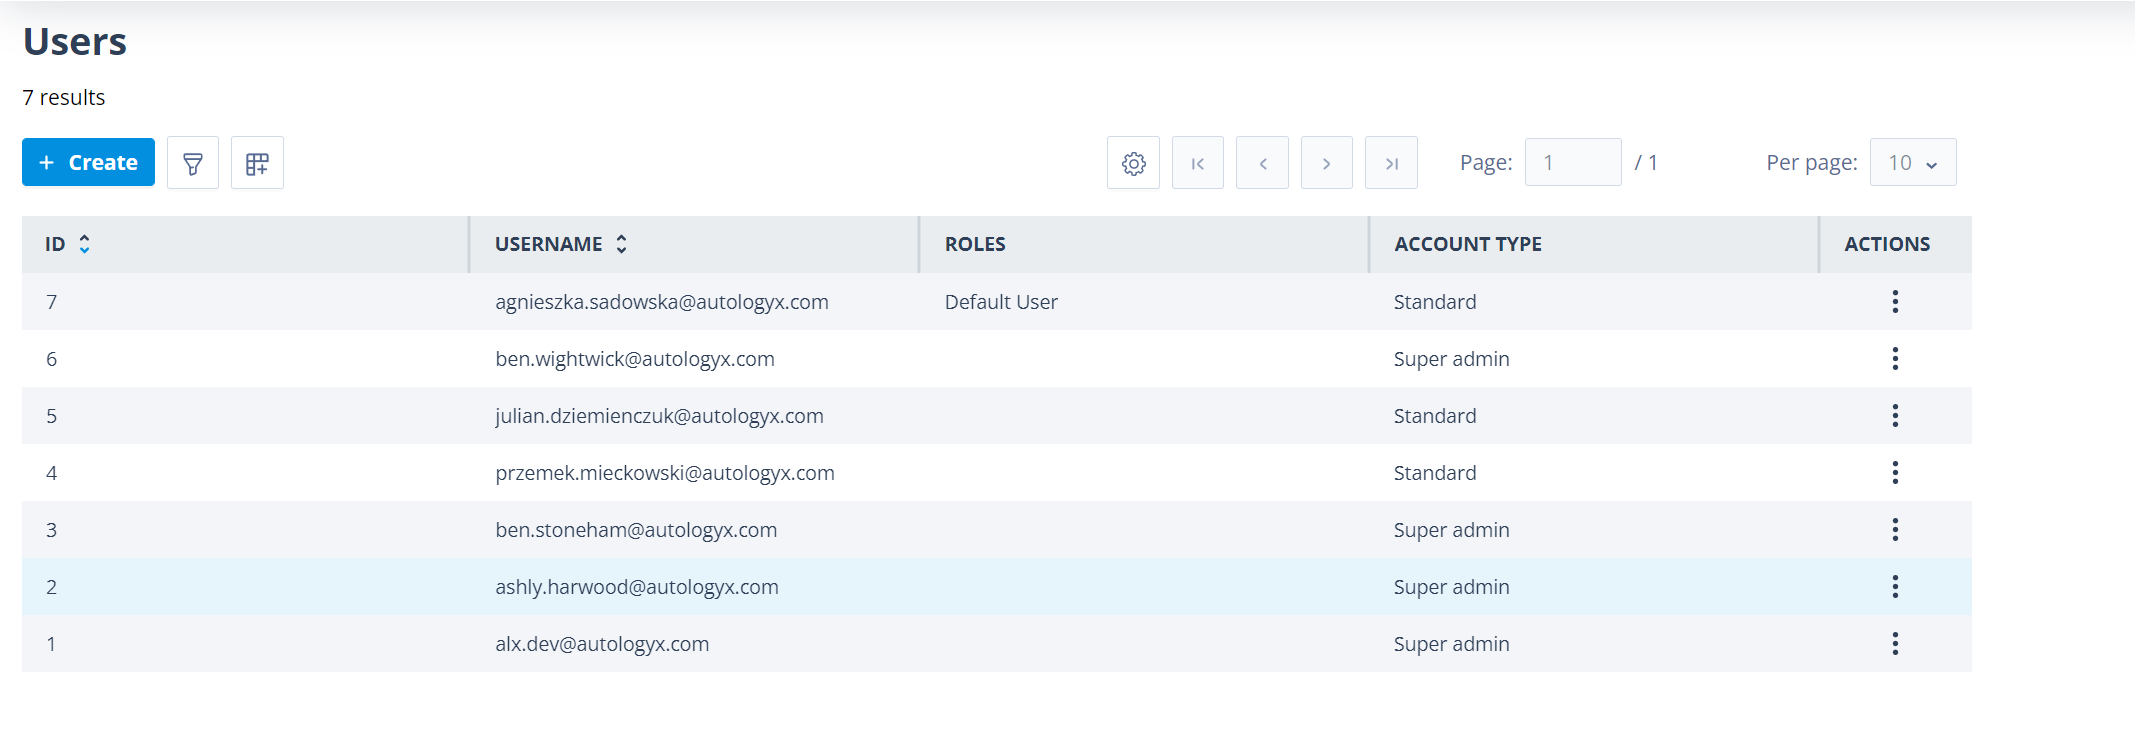
In the example below, Rachel Chambers does not yet have a user account in this Catalyst system.
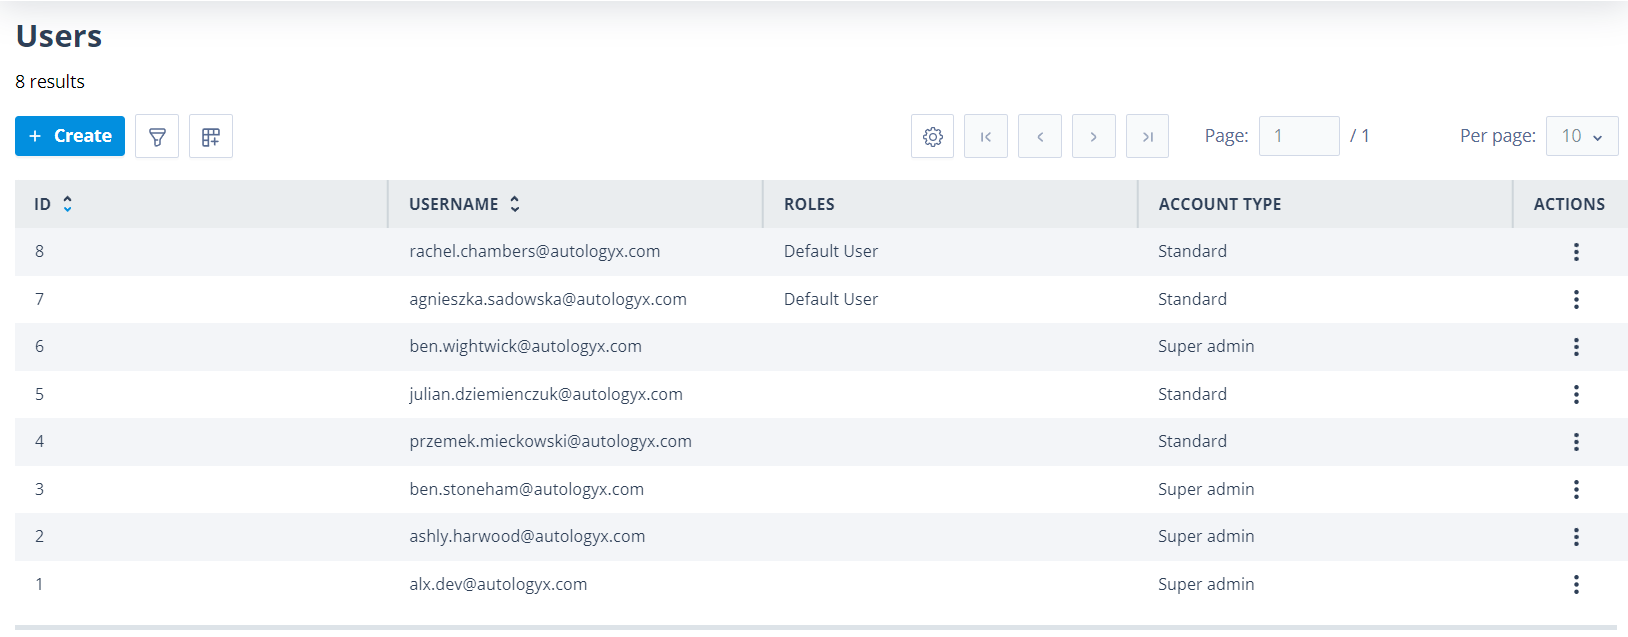
When Rachel signs in through the Single sign-on provider, Catalyst creates a user account automatically.
The user account fields are populated as follows:
- Email - taken from the email address stored with the Single sign-on provider
- Account type - set to Standard
- First name - taken from SSO API user information
- Last name - taken from SSO API user information
- Account status - set to Active
- Roles - assigned from the Roles to assign to created user field in the Single sign-on settings
A maximum of 10 Roles can be assigned to a user created this way.
After successful login, the user can access the parts of Catalyst allowed by the Role or Roles assigned through the Single sign-on configuration.
In the example below, Rachel Chambers has been created as a user with a Standard account type and assigned the configured Role.
Things to remember
- Single sign-on users are matched to Catalyst accounts using their email address.
- A non-active account becomes Active after the user's first successful SSO login.
- If Automatically create user is not enabled, users without an account see an Access denied message.
- Users created automatically through SSO are given a Standard account type.
- Roles for automatically created users are controlled by the Single sign-on configuration.
- Email and password fields remain visible on the login page for users who do not use SSO.