
Editing a Single sign-on setting
A Single sign-on (SSO) setting controls how users authenticate through an external identity provider.
You can edit most settings after an SSO configuration has been created. Changes take effect immediately and apply to future authentication requests.
Permissions
Only the following users can edit Single sign-on settings:
- Users with a Super Admin account type.
- Users whose Role includes the Create/Edit or Edit permission for Single sign-on settings under the Administration section.
Open an existing Single sign-on setting
From the Single sign-on settings list, either:
- double-click the required row, or
- select Edit from the Actions menu.
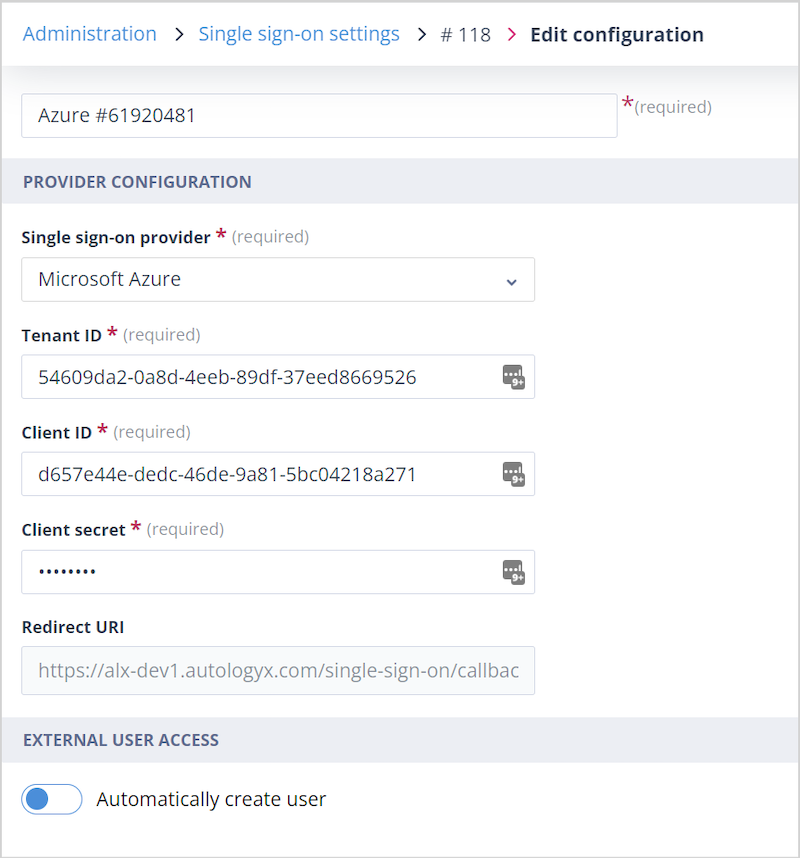
The Edit page displays the current configuration.
Editable settings
Configuration name
The Single sign-on configuration Name can be changed at any time.
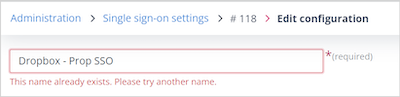
The name is mandatory and must remain unique. If you enter a name that already exists, a validation error is displayed and the configuration cannot be saved.
Enabled
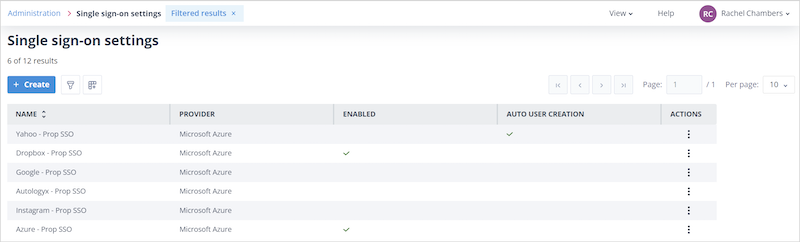
The Enabled switch can be turned on or off at any time.
When enabled, the configuration is available to users on the login page. The current state is also reflected in the Enabled column of the Single sign-on settings list.
Single sign-on provider
The selected identity provider cannot be changed after the configuration has been created.
If you need to use a different provider, create a new Single sign-on configuration.
Tenant ID
The Tenant ID is mandatory and can be updated if required.
Client ID
The Client ID is mandatory and can also be updated.
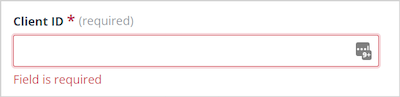
Mandatory fields cannot be left empty. If a required value is removed, the Save button is disabled until the error is corrected.
Client secret
For security, the Client secret is displayed as a series of asterisks.
When you click into this field, the stored value is cleared and you must enter the complete replacement secret before saving.
Redirect URI
The Redirect URI is automatically generated when the connection between Autologyx and your identity provider is established.
This field is read-only and cannot be edited.
Automatically create users
The Automatically create user option determines what happens when someone successfully authenticates through your identity provider but does not yet have a user account in Autologyx.
When this option is enabled, an additional field called Roles to assign to created user becomes available.
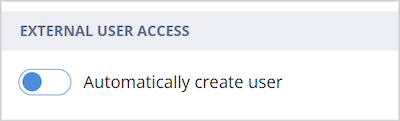
You can assign one or more Roles that will automatically be applied to newly created users.
A maximum of 10 Roles can be assigned.
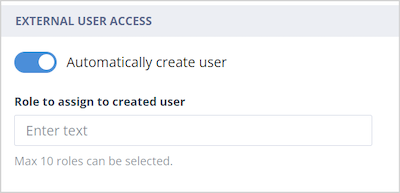
If no Roles are selected, newly created users can still sign in successfully but will have very limited access. For example:
- they can access the Landing page
- their Workspace will contain no records
- their Tasks list will be empty until appropriate permissions or task assignments are granted
Changes to the assigned Roles affect only users created after the configuration is updated. Existing users are not modified.
Cancel or save changes
Click Save to apply your changes immediately.
Click Cancel to discard your edits.
You can also leave the page using the navigation menu or close the browser tab.
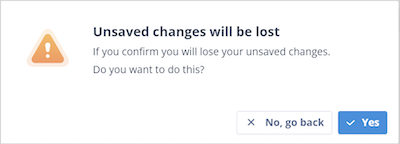
If there are unsaved changes, you'll be asked to confirm before leaving the page.
Things to remember
- The Single sign-on provider and Redirect URI cannot be changed after a configuration has been created.
- Mandatory fields must contain valid values before the configuration can be saved.
- The Client secret must be entered again whenever it is updated.
- Automatically created users can be assigned up to 10 Roles.
- Changes to assigned Roles affect only users created after the update.