List page filter editor
Most list pages have a filter editor. You can use it to find rows that match specific conditions, which is especially useful when a list contains many items.
For example, you can filter long lists such as Task templates to show only the rows that match the values you need.
Open the filter editor
The filter editor icon appears in the top-left corner of the list page, below the list name and to the right of the + Create button.

When you hover over the filter editor icon, an onscreen message is displayed.
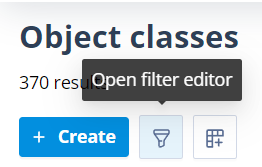
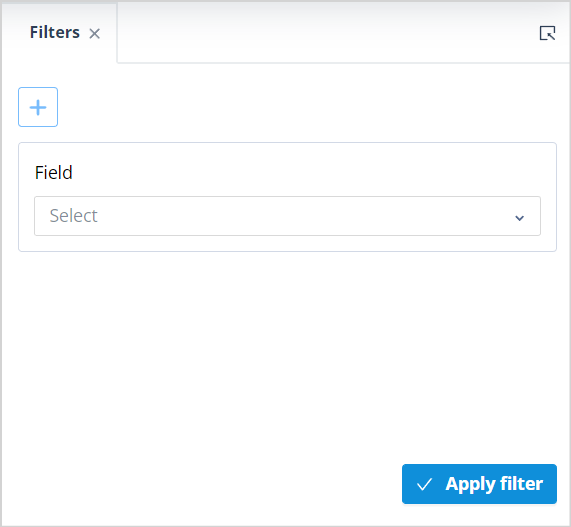
Click the filter editor icon to open the filter panel. The panel opens in the side stack to the right of the main content area.
The filter editor opens with a blank field that prompts you to Select a field. This list usually contains most of the column headers from the list page. Some columns, such as Description and Actions, are not included.
Add a filter condition
To define a filter, select an option in the first field.
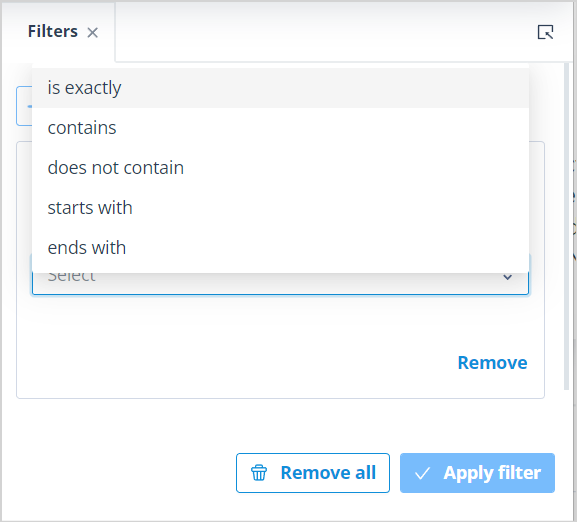
A second field is displayed, prompting you to select an operator. The available operators depend on the field you selected.
In the example below, Name is a mandatory text field, so operators such as Is empty and Is not empty are not shown.
After you choose an operator, a third field is displayed so you can enter or select the value to filter by.
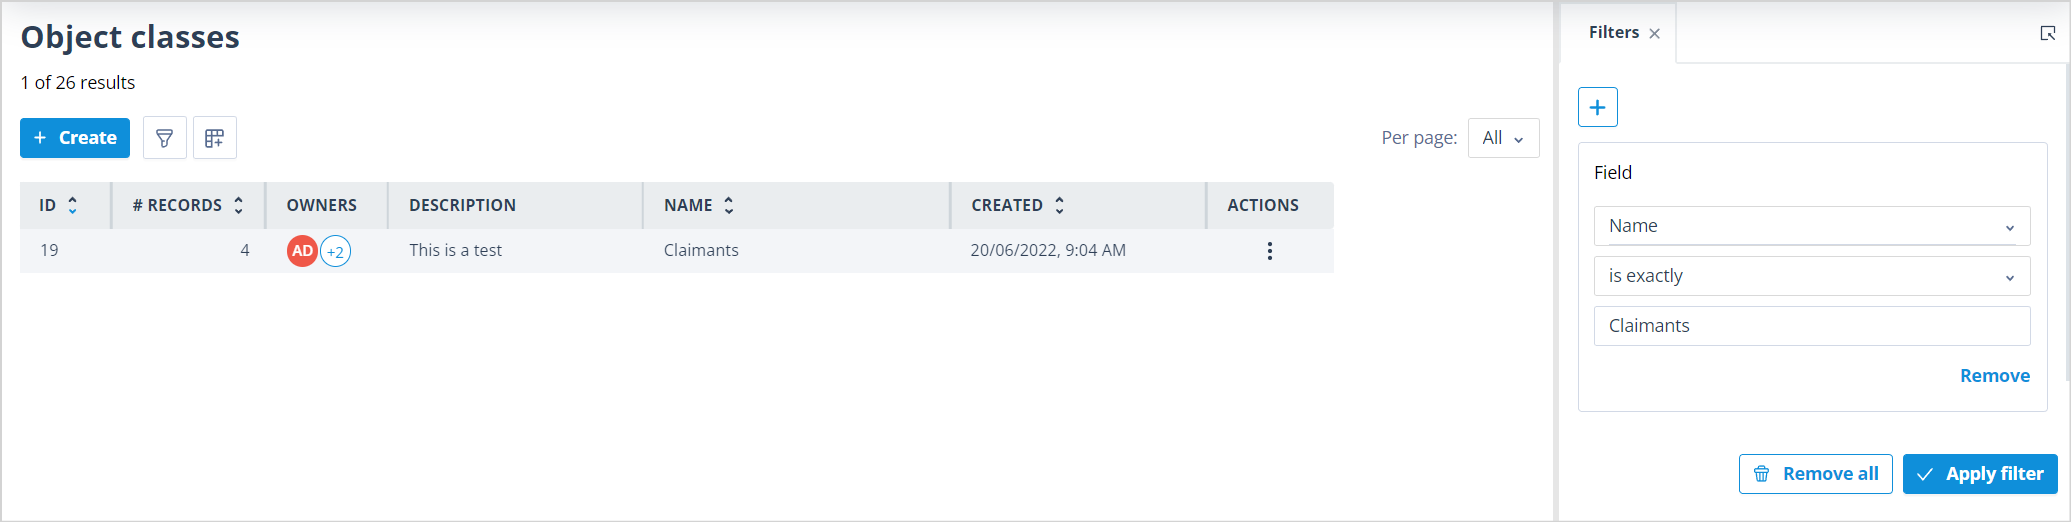
In this example, the operator is is exactly, so the third field prompts the user to Enter text.
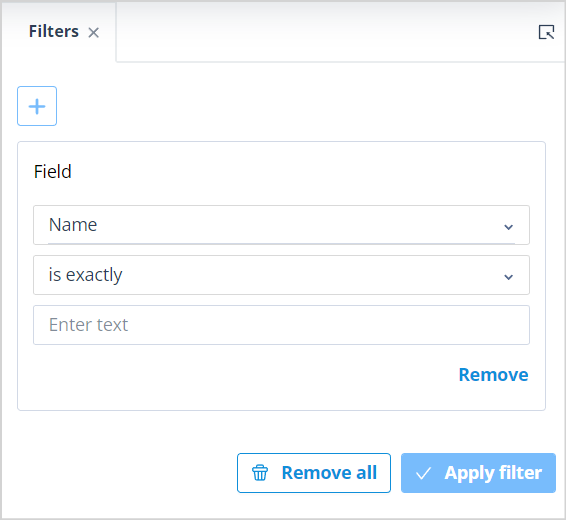
In this example, the user is looking for an Object class called Claimants. After entering the value, click Apply filter to reduce the list to matching results.
Use multiple filters
You can use multiple filters to narrow the results further.
Each filter condition is applied in addition to the others. This means a row must satisfy all conditions in the filter editor before it appears in the results.
In the example below, the user is looking for Object classes related to contracts. The additional field is Created by. The operator is equal to allows the user to select one user.
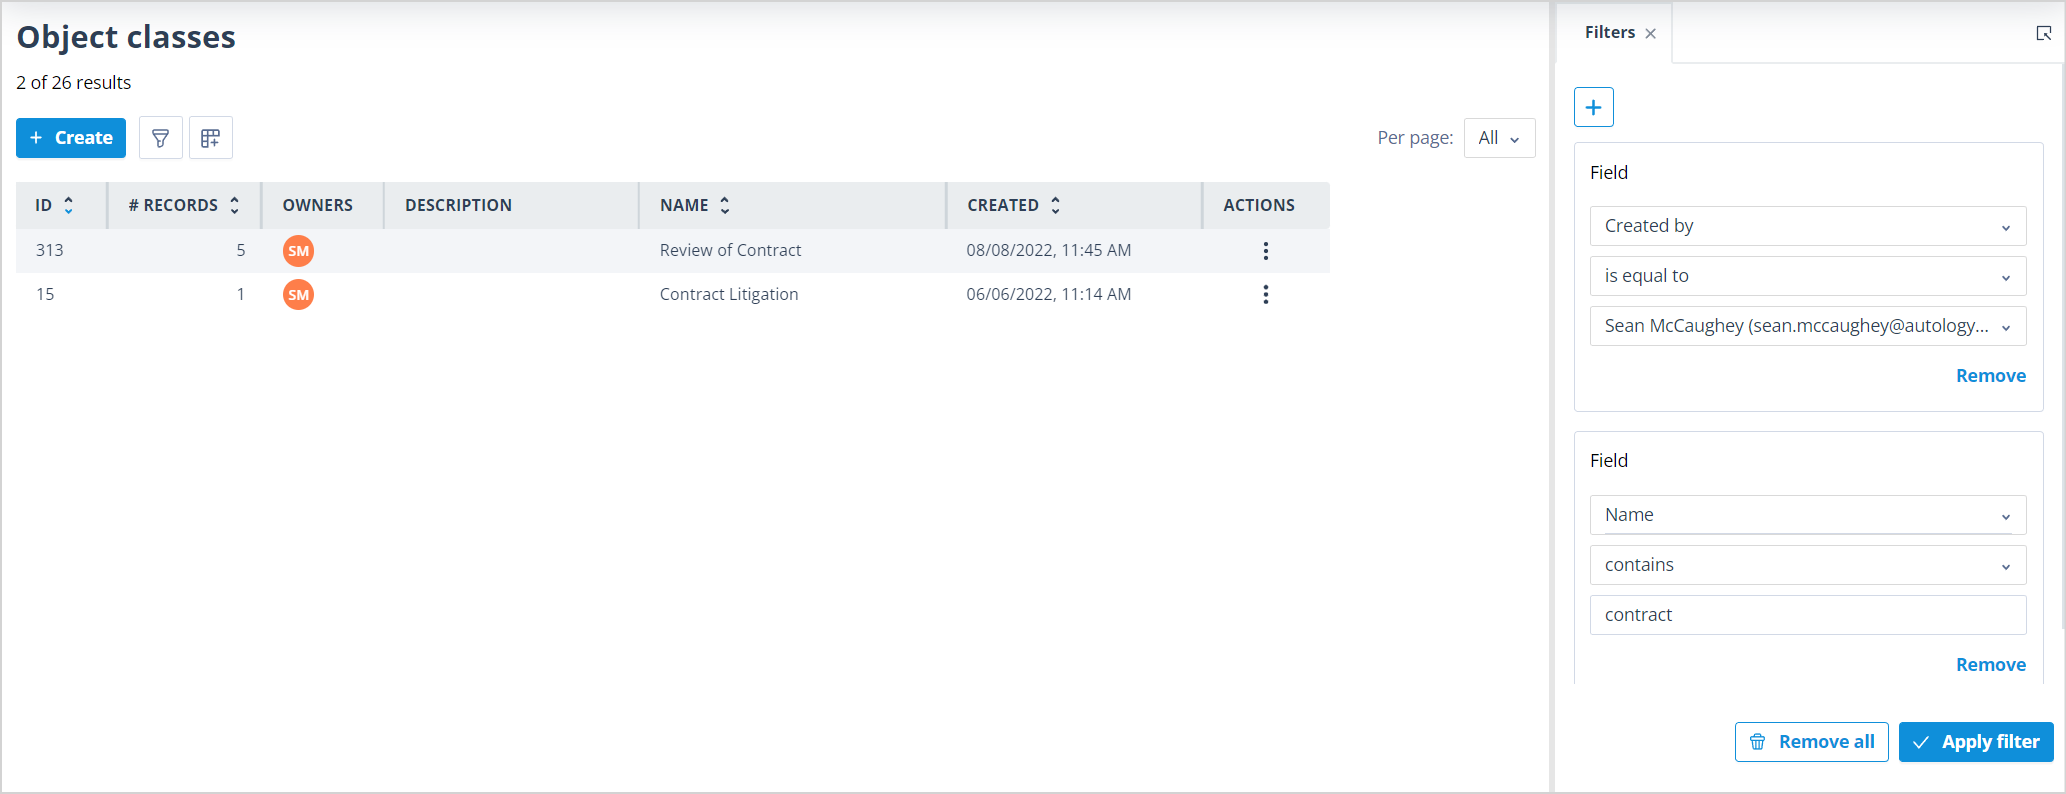
The two results both include contract in the Object class Name and were created by Sean.
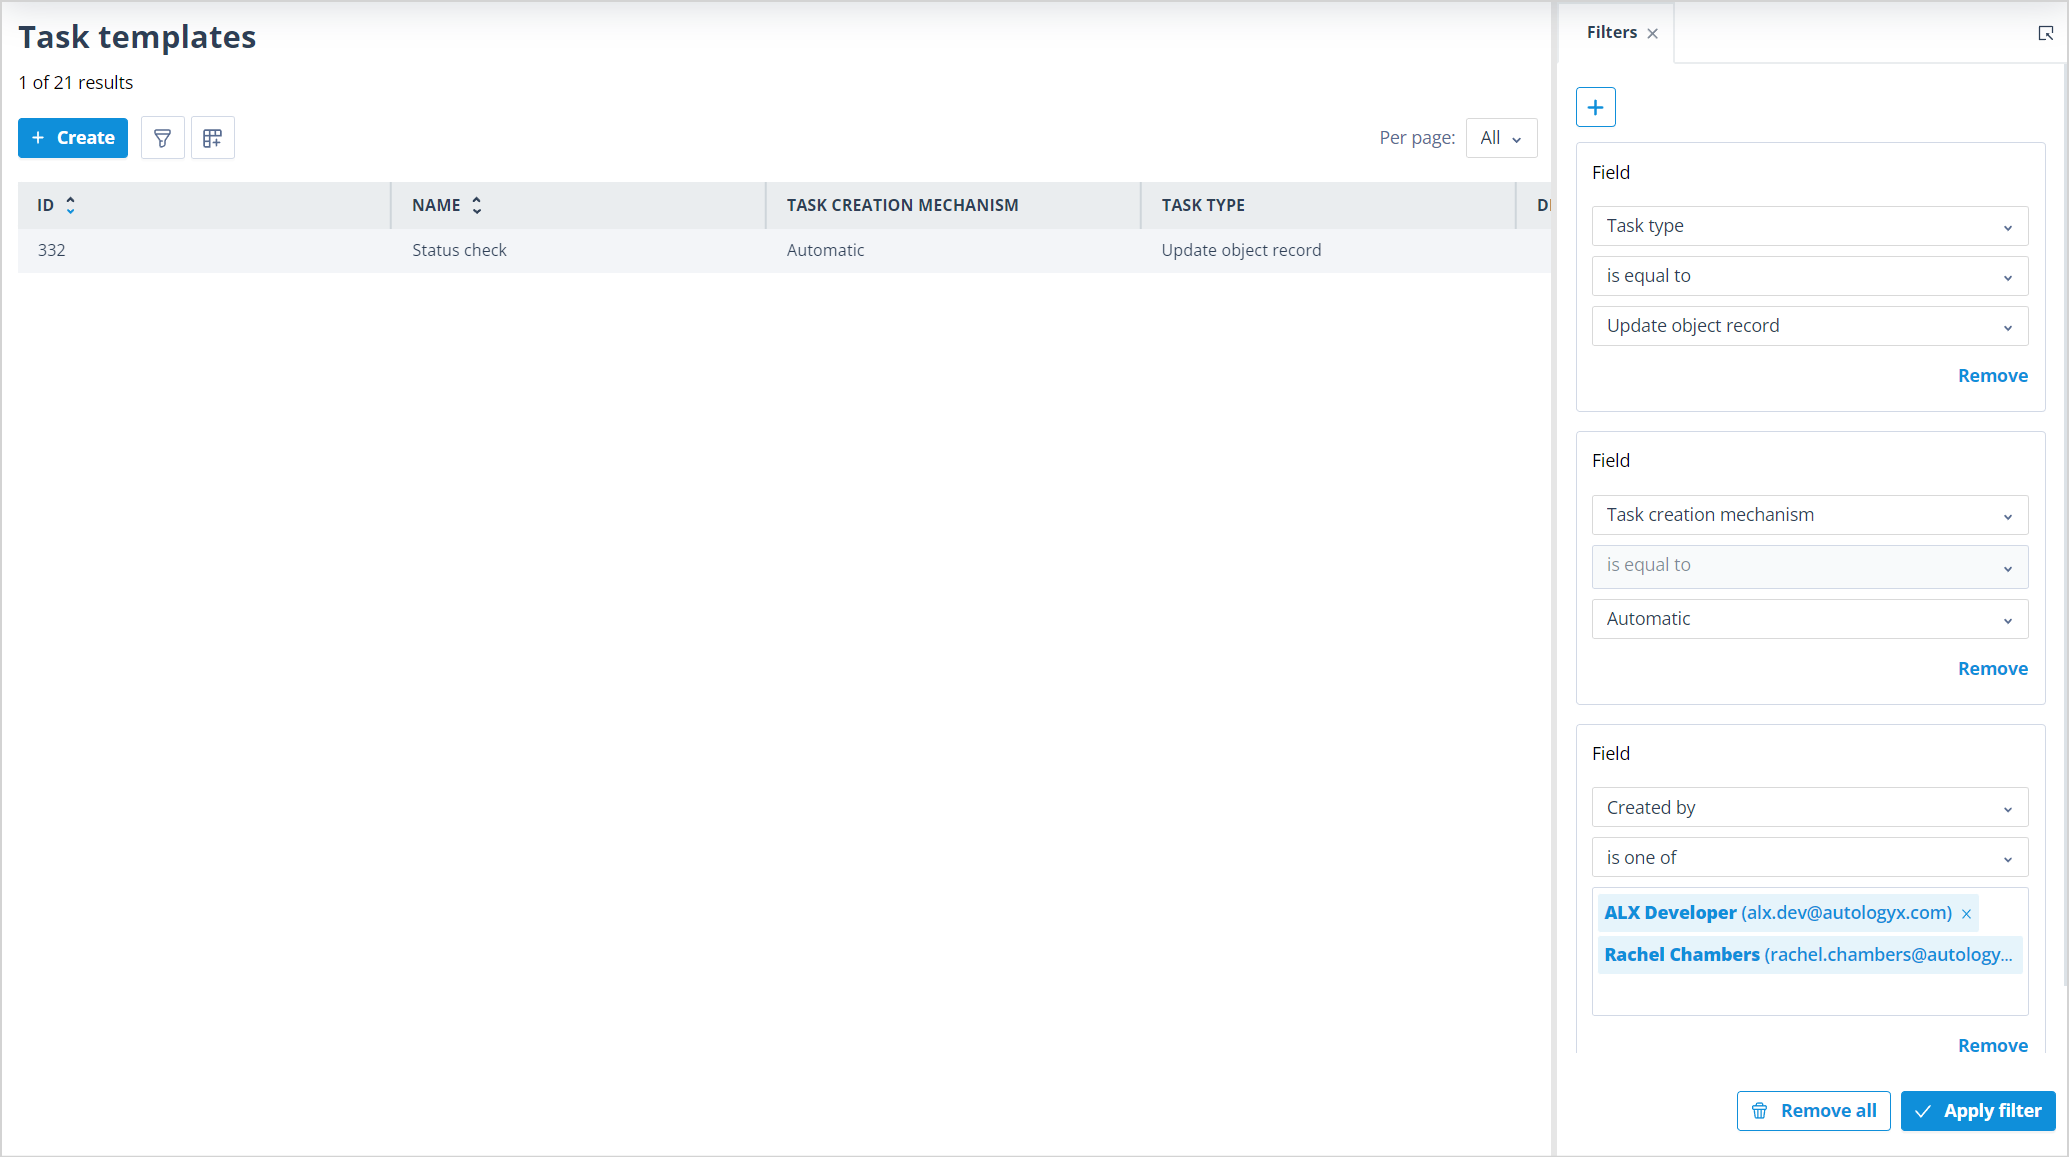
In the example below, the filter editor has been used on the Task templates list. The filter conditions are:
- Created by uses the operator is one of, with two users selected.
- Task creation mechanism uses the operator is equal to, with the value set to Automatic.
- Task type uses the operator is equal to, with the value set to Update object record type.
The list is filtered to one matching record.
View filtered results
When a filter is applied, the number of filtered results is displayed under the list page name.
The page navigation also shows a Filtered results control. If the filter panel is closed, clicking this control opens it again.

Click the X next to Filtered results to clear the filter.
If the filter panel is open, it remains open and resets to a blank condition so you can start again.
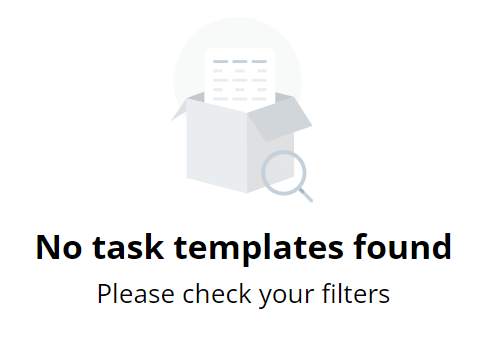
If the applied filter returns no matching records, an onscreen message confirms that no records were found.
Use operator-specific inputs
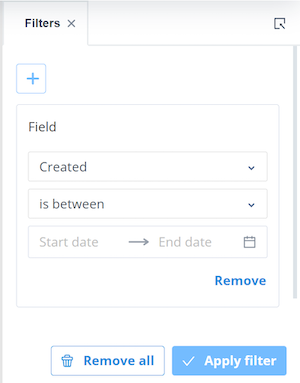
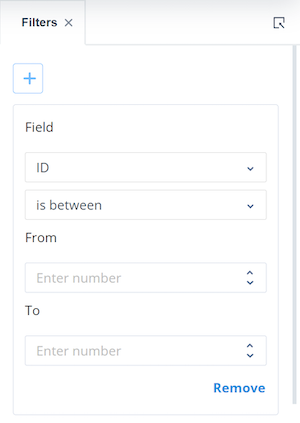
Some operators display different input fields depending on the selected field and expected value type.
For example, if you select the is between operator, the filter editor shows value fields that match the field type. A date field such as Created shows date inputs, while a numeric field such as ID shows number inputs.
Remove filters
You can remove individual filter conditions at any time. You can also add other conditions to refine the results further.
To clear all filter conditions, click Remove all at the bottom of the filter panel.
A confirmation modal is displayed.
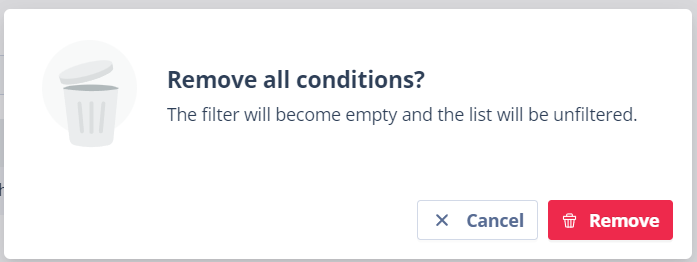
Click Cancel to keep the filter conditions.
Click Remove to clear the conditions. The filter panel remains open, but returns to a blank state. The list is shown in full again, subject to any page controls that are still in place.
Things to remember
- Only fields that have not already been used in the filter editor appear as options for additional conditions.
- The button to add another condition is only active when the current condition is fully defined.
- Second and subsequent conditions are added to the top of the filter editor.
- The Apply filter button is only enabled when all conditions are fully defined.
- If filters have been applied and the filter editor is closed, the filters are saved and reappear when the filter editor is next opened.