How to configure the Landing page
If you are reading this article in-application, you will have a Super admin User account, as this is required to configure the Landing page.
If you have accessed the article from our Zendesk knowledgebase, go to the System configuration section in the main menu and click Landing page.
Overview
The page will look like this:

The Landing page will be disabled.
The main content area will have the first section ready to use.
In the Layout panel, you have the ability to drag and drop further sections, and there is also an HTML component which can be used as many times as needed.
The Section works in exactly the same ways as in all Catalyst forms.
Set up the first section
- Click on the first section to give it an appropriate label and select the required number of columns, as well as their ratio.
- Adjust the spacing if desired.
- Drag an HTML component into the first column.
Use the HTML editor
The HTML editor allows you to:
- enter and format text
- insert tables and horizontal lines
- insert images and media files via a hosted URL
- insert iframes from systems such as Power BI which will provide access to live reports
| - click the HTML icon in order to copy/paste or write HTML code directly into the area | mceclip0.png |
| - you can also click Source to paste or write HTML code directly here | mceclip1.png |
When the HTML snippet is displayed, remember to click the edit icon on the top right-hand side to enable edit mode.
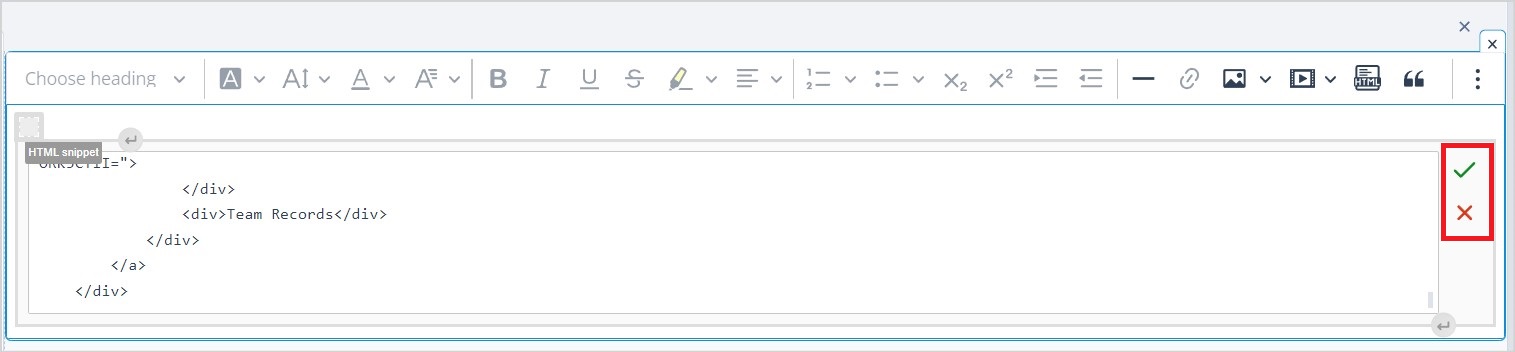
When you have added your code, the changes can be saved or discarded by clicking the green tick or red cross icons respectively.
The same icons should be used when you click on an item to edit it.
Navigation buttons
In the top right-hand side of the main content area, you will find the following navigation buttons:
- Cancel - Clicking this after Save will take you back to the main System configuration page. However, if you have unsaved changes, the warning modal will display.

Your changes will be retained but remain unsaved when you click x No, go back. Your changes will be lost by clicking Yes.
- Revert - Clicking this when you have unsaved changes will display this warning modal:
Your changes will be retained but remain unsaved when you click Cancel. Your changes will be lost and the configuration will revert to the last saved version if you click Revert.
Preview - Allows you to check how the Landing page will present to Users when they log in. Click Exit preview to return to edit mode.
Save - Does what is says on the tin. Remember to Enable the page in the top left-hand corner, then Save, when you are happy for it to become live.
Useful info
- In this first version of Catalyst, there is only one Landing page which will be displayed to all Users when they log in. Therefore, this needs to be constructed in such a way that it is relevant to everyone.
- Section headers can be hidden by disabling the Show this section header button:
| section_properties.jpg | mceclip1.png |
| mceclip0.png |