
What do I need to know about creating a User Group?
User Groups allow you to organise users for permission management, task assignment, and collaboration.
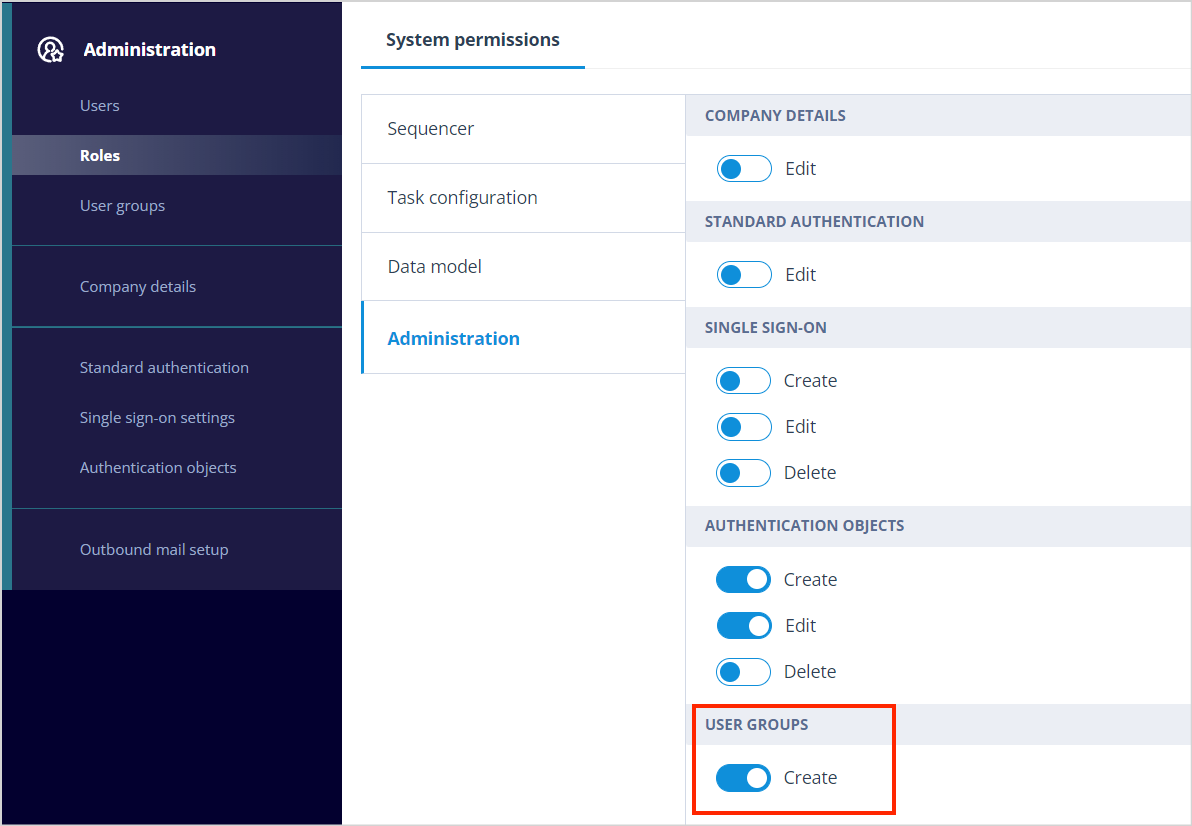
Before you can create a User Group, you must have the appropriate permissions.
Who can create a User Group?
You can create a User Group if one of the following is true:
- you have a Super Admin account type
- you have a Config Admin account type and a Role with the Create permission enabled for User Groups under Administration system permissions
Create a new User Group
Open the User Group List and click + Create.
The Create User Group page opens.
When creating a User Group:
- the group must have a unique name
- you can optionally provide a description
- the Save button remains disabled until a name has been entered
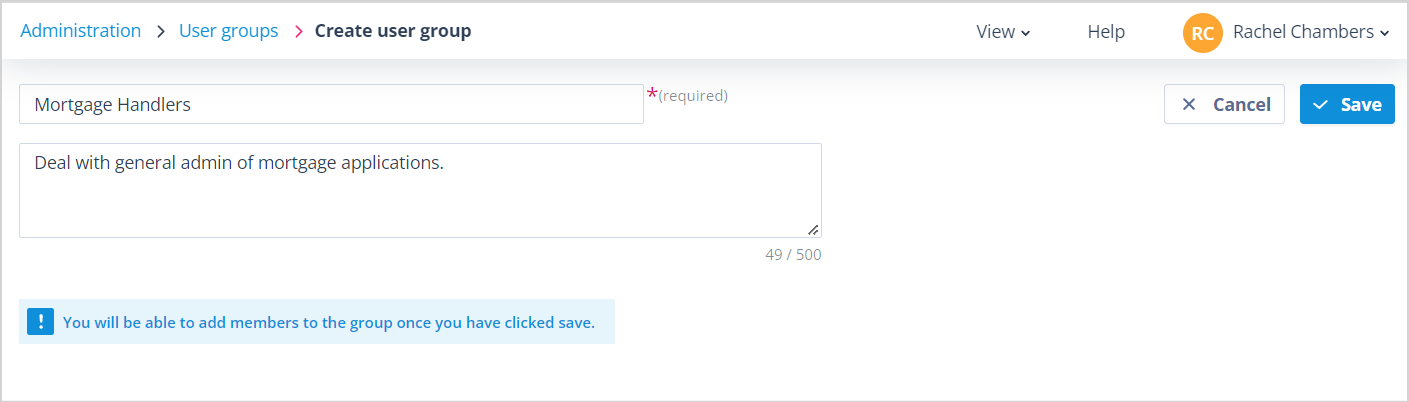
Click Save to create the User Group.
You will then be asked whether you want to add members immediately.
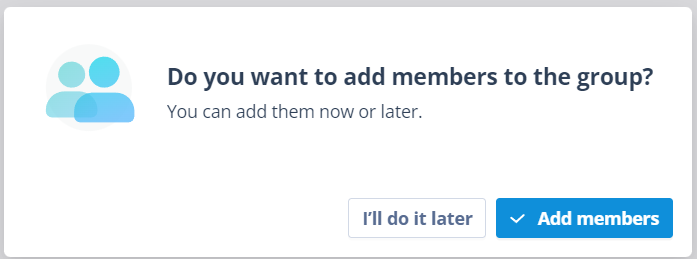
Add members immediately
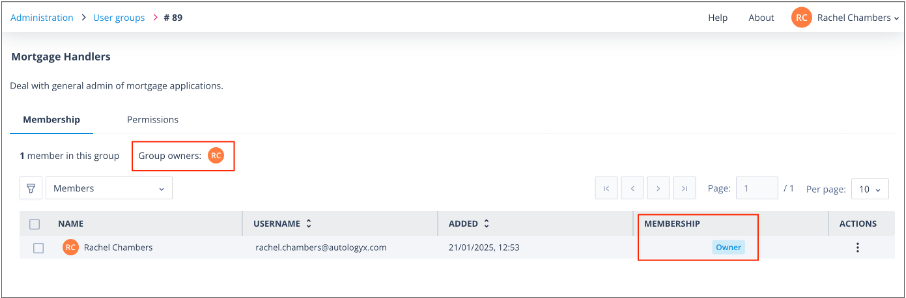
If you choose Add members, the new User Group opens on the Membership tab.
The User Group contains two tabs:
- Membership
- Permissions
You are automatically added as both a Member and an Owner of the User Group.
Add users to the User Group
Below the member summary, change the filter from Members to Non-members.
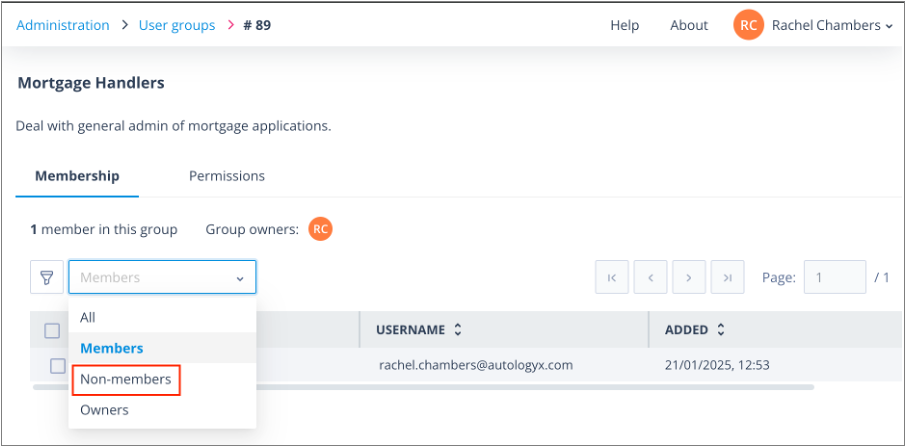
The Non-members list contains every eligible user in the system except users with a 1-time completion account type.
Each user has an Actions menu containing:
- Add as member
- Add as owner
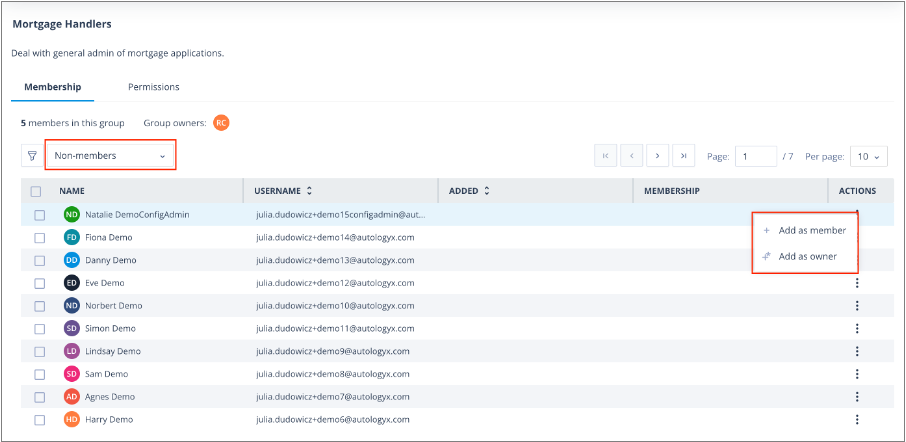
These actions can be used to add users individually.
To add several members at the same time, select the required users using the checkboxes and click + Add as members.
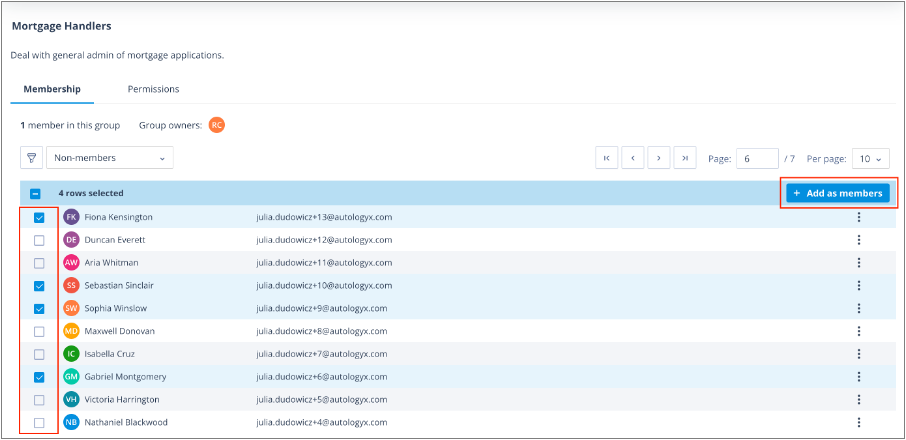
A green success toast confirms that the users have been added.
Return the filter to Members to view the updated membership list.
Managing members
Each member has an Actions menu.
From here you can:
- promote a member to an Owner
- remove a member from the User Group
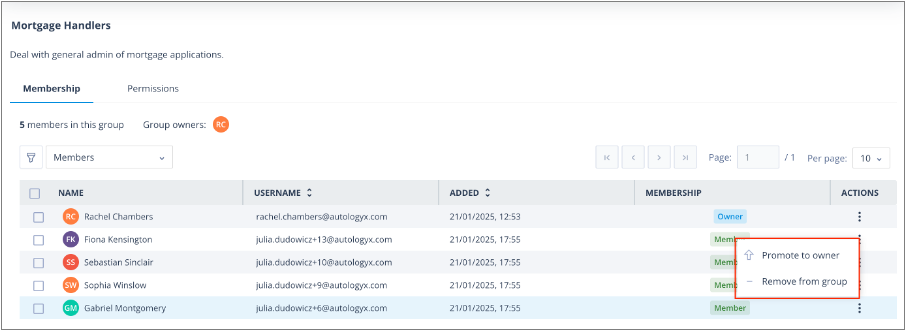
These actions are covered in more detail in the following articles:
Add members later
If you choose Add members later, the User Group is saved immediately and appears in the User Group List.
You can return to it at any time by:
- double-clicking the User Group
- selecting Open from the Actions menu
From there you can:
- add members
- promote members to Owners
- remove members
- manage User Group permissions
Things to remember
- User Group names must be unique.
- The user who creates a User Group automatically becomes both its first Member and first Owner.
- When viewing the Non-members list, only the first 10 users are shown by default. Increase the page size or use the search box to find additional users.
- A maximum of 50 users can be added or removed in a single bulk action.
- A system can contain up to 1,000 User Groups.
- Each User Group can contain up to 1,000,000 Members.
- A User Group can have up to 10 Owners.