Configuration and use of the Image Merge Field
One thing that can really improve a document is the inclusion of high quality images, particularly if these are personalised. With this in mind, we have developed an image merge field which is designed to inject images such as logos, photographs, charts, QR codes, infographics, etc into your generated documents.
Example: customer logos
The following describes how to configure and use an image merge field for customer logos.
Configure the object class and field
The object class being used is called Customer. Start by adding a document type field to the object class. In this case, the field is called Customer Logo; it is limited to one file.
Next, add the field to one of the following to ensure that it is populated with the logo prior to the document being generated:
- A standalone form used to create a Customer record (this is configured in the Forms tab on the object class and can be used to create a record from outside of the system)
- The create/edit display view of the Customer object class
- An update object record type task for the Customer class where a user is required to upload the logo to the document field
Note: If using one of the latter two forms, this action must be sequenced prior to the document generation so that the image can be included in the document.
Alternatively, the user should check that the document field has been populated prior to manual generation of the document.
Add the image merge field to the document template
A WORD document in .docx format must be used to create the document template.
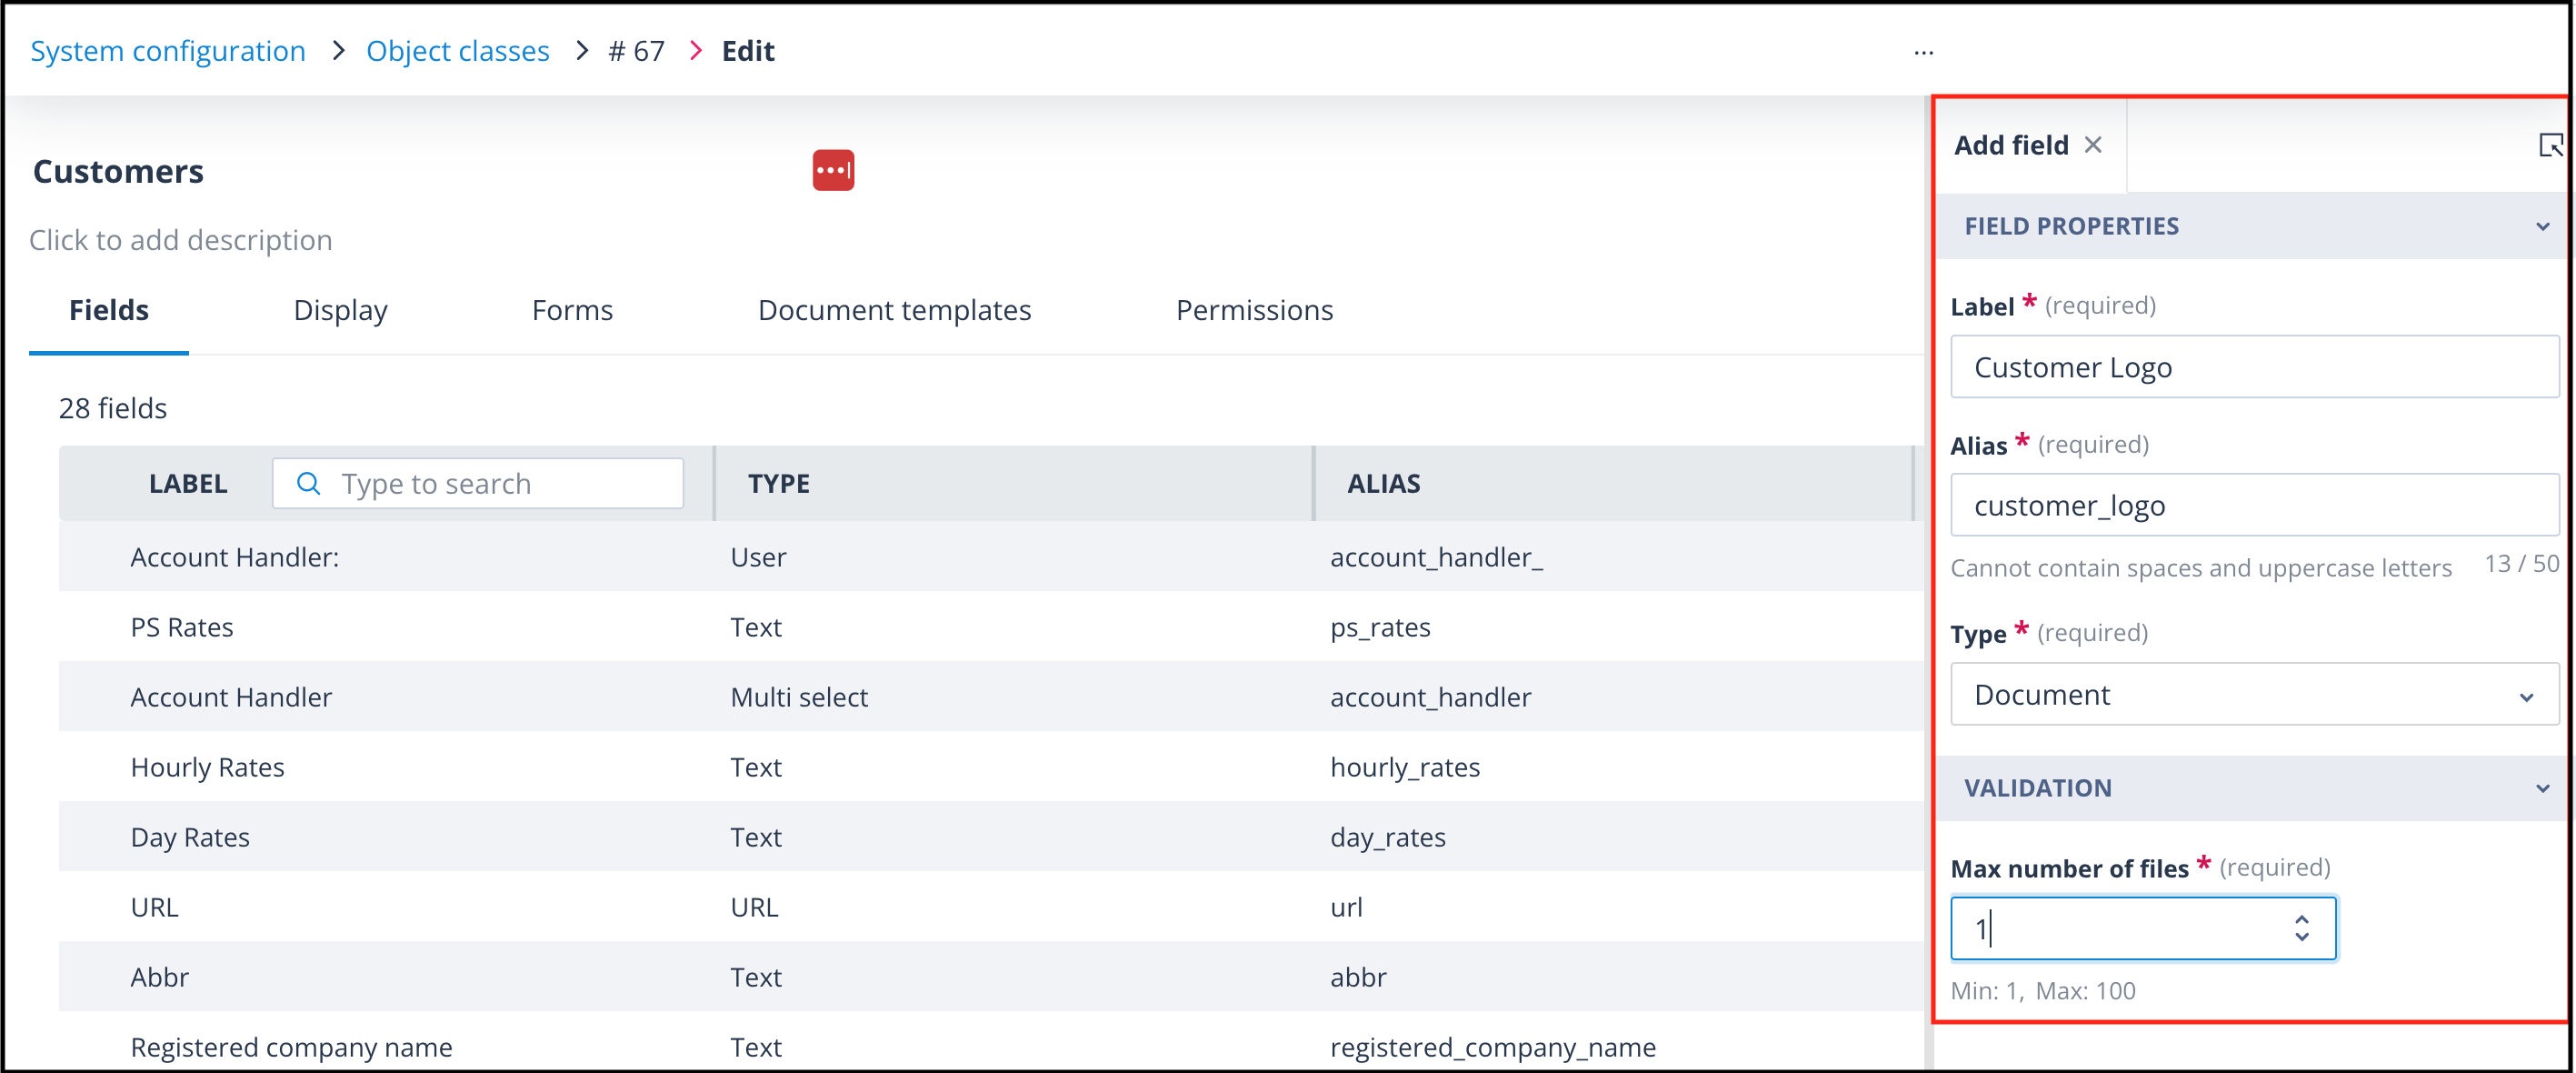
Add the image merge field to your document template using this format:
{{record.field\_customer\_logo[0].embedded}}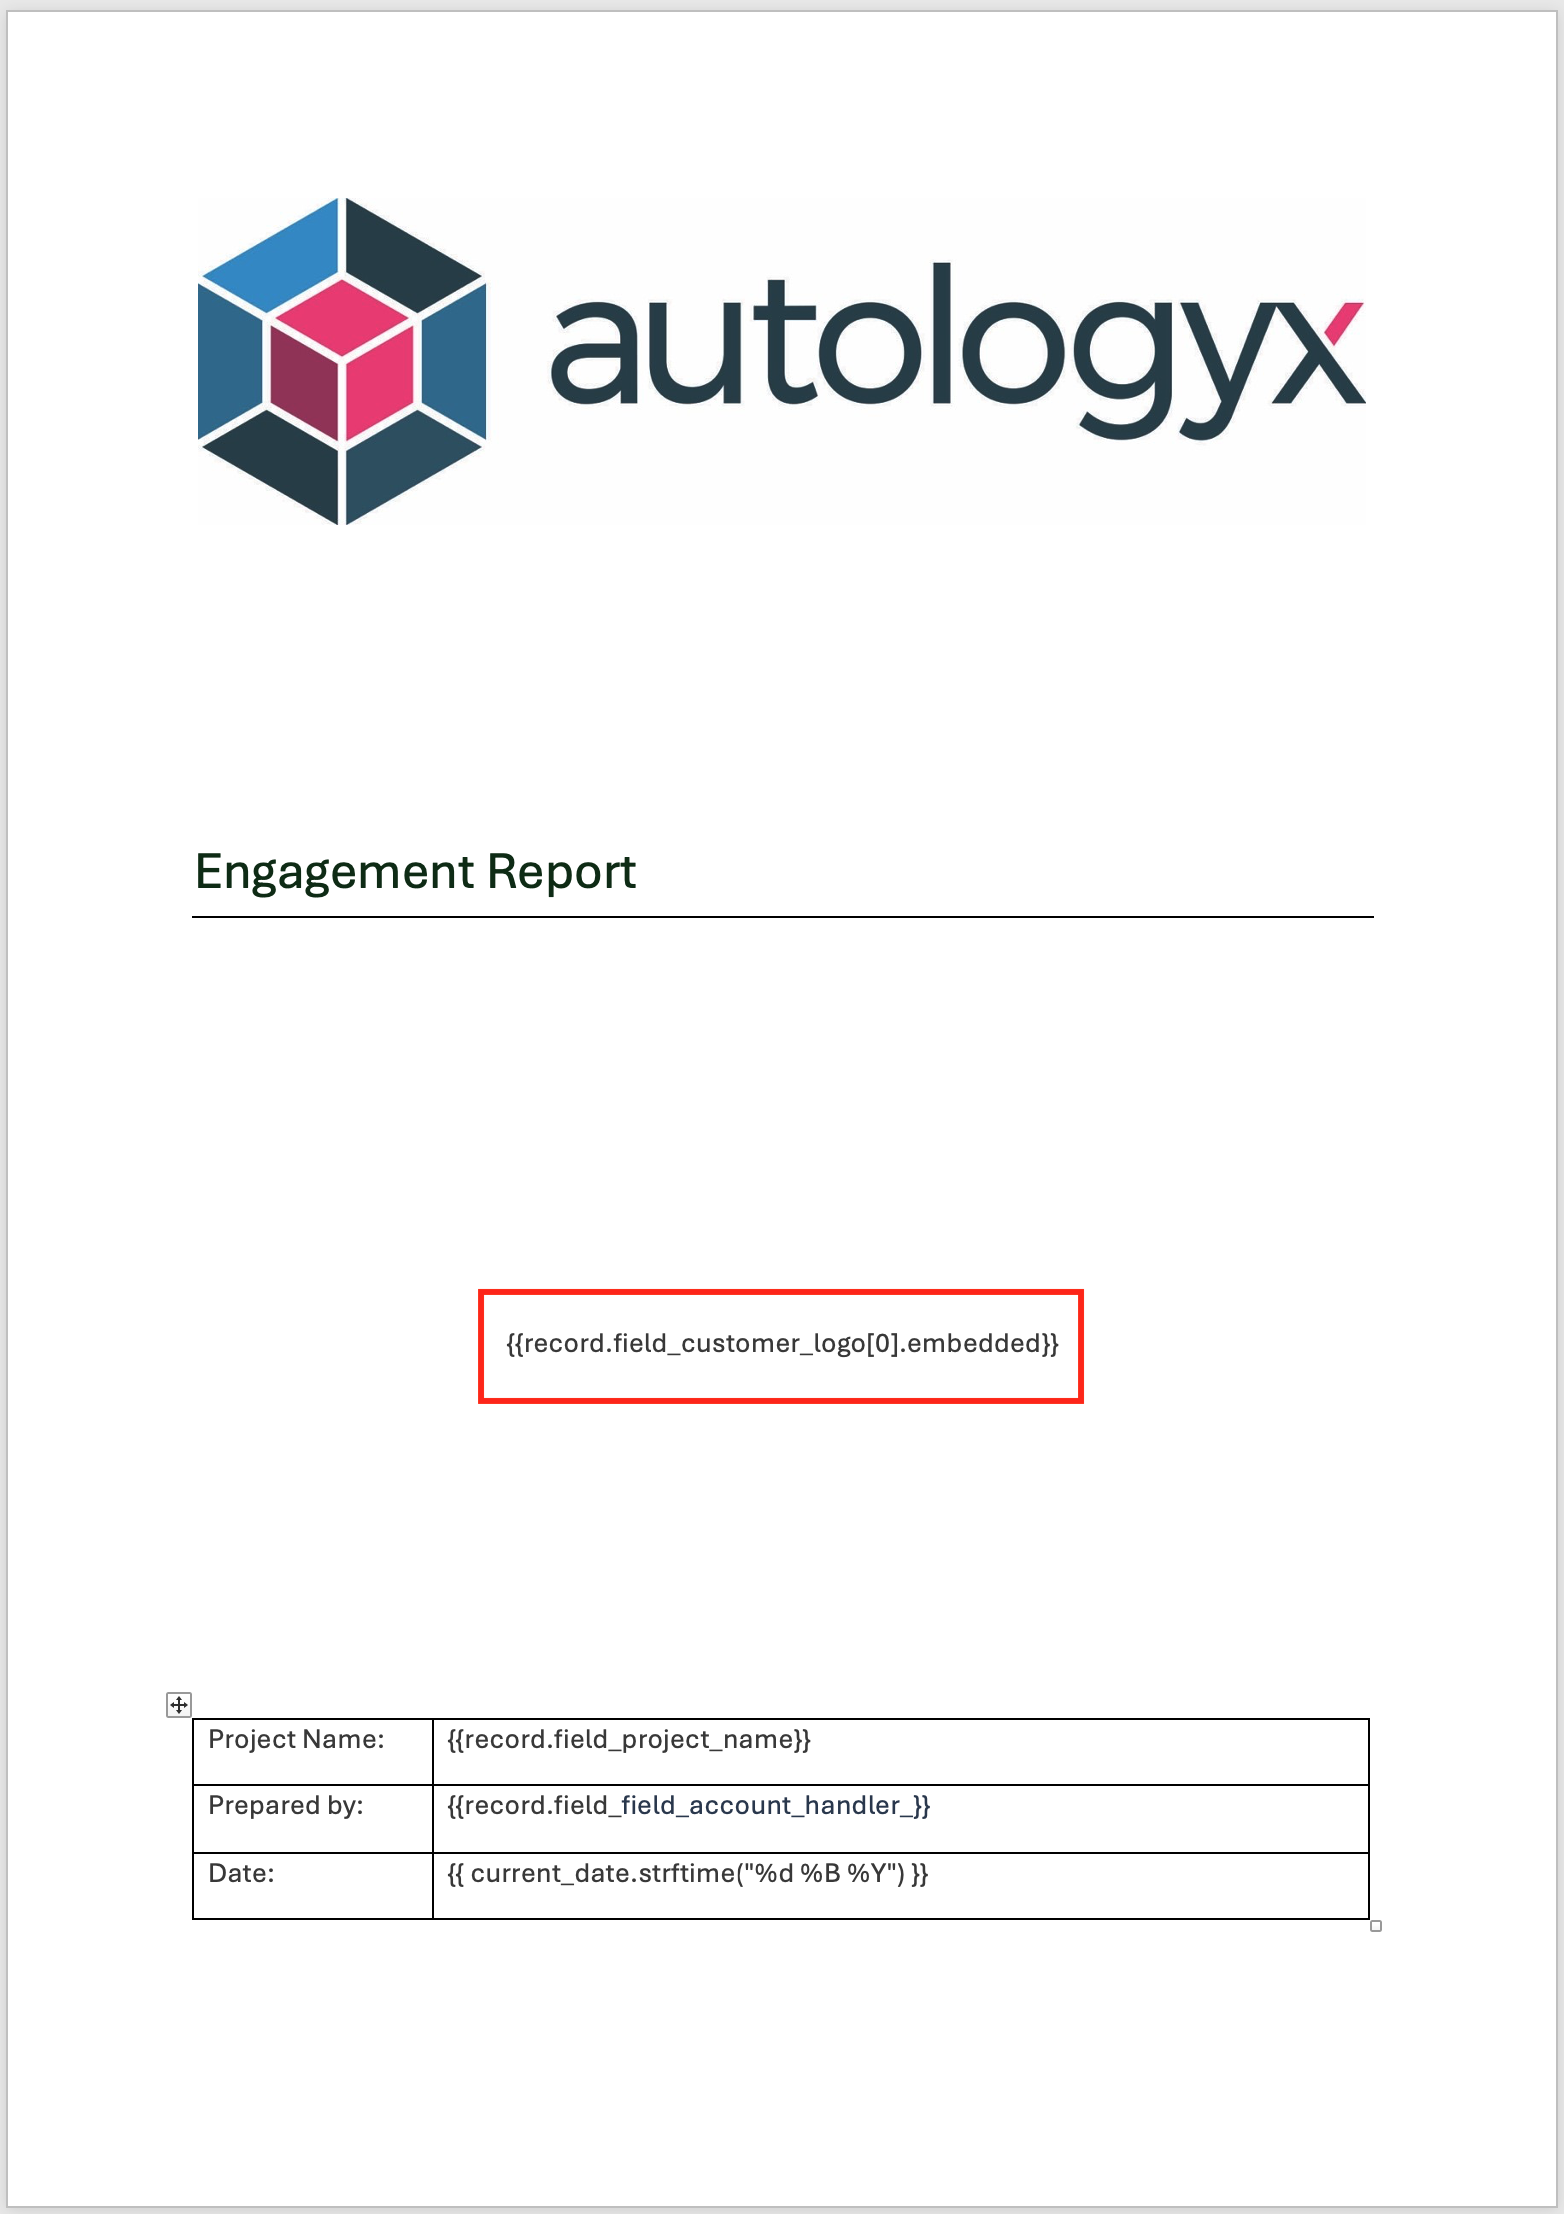
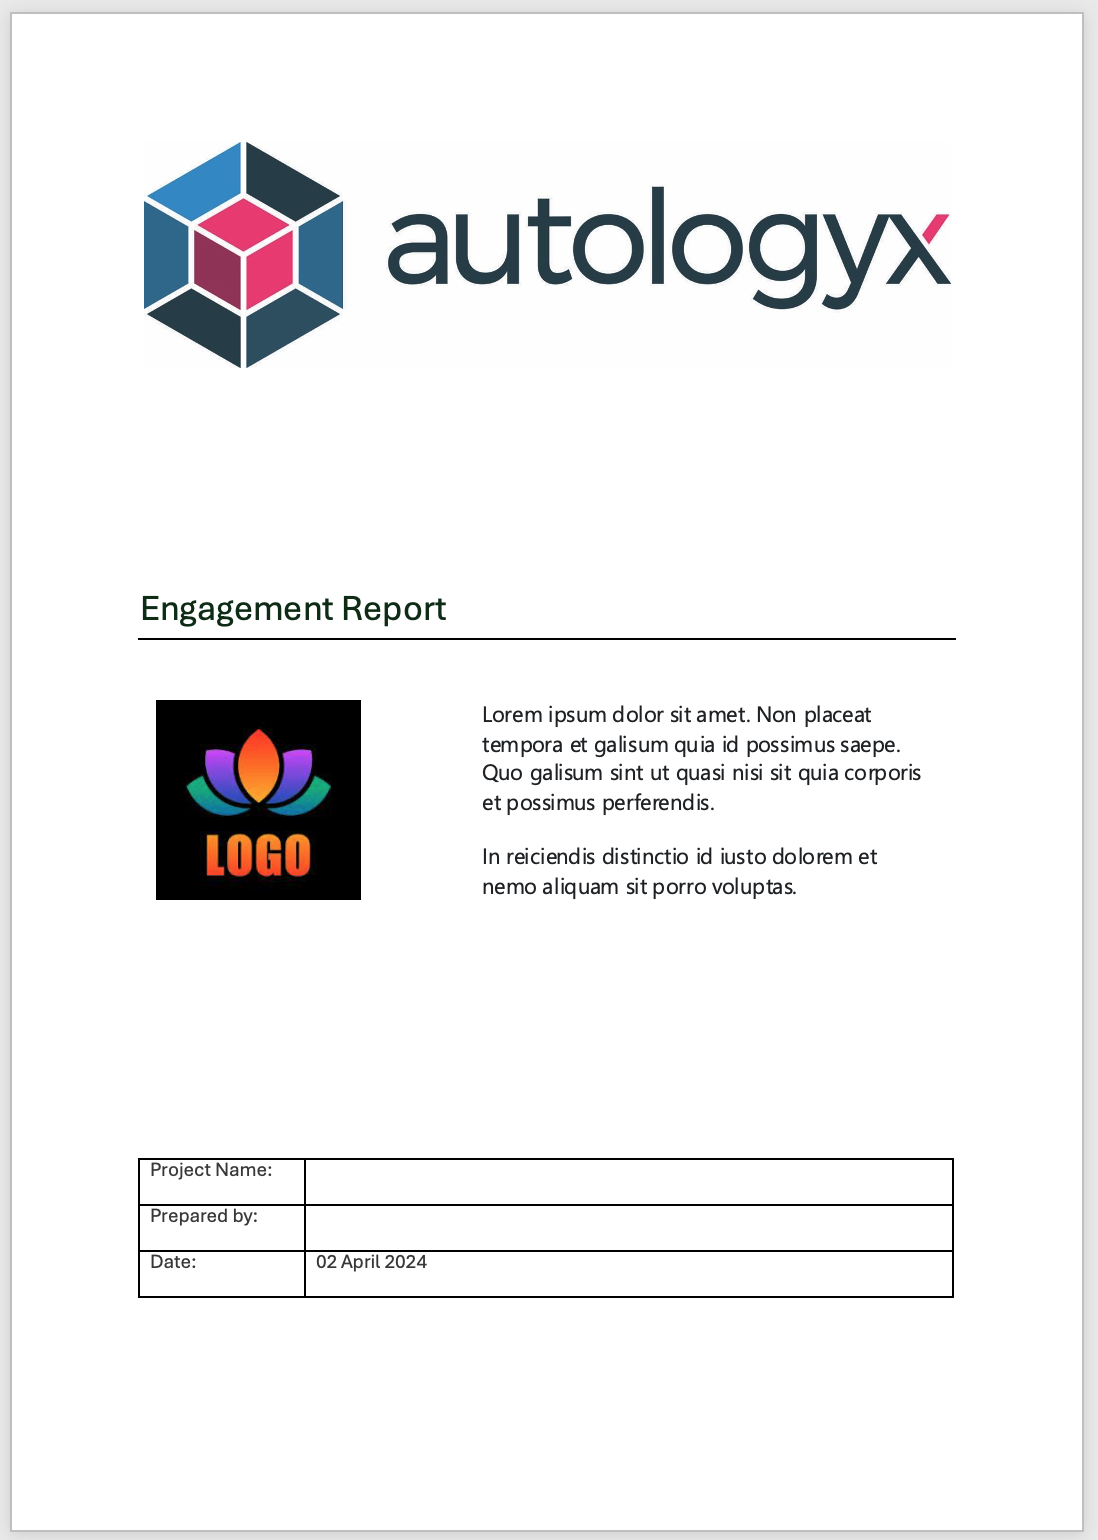
You'll note that the Autologyx logo at the top of the document template is a constant so can be included as a static image. However, the customer logo will be different per record, hence the use of the merge field.
Control image size and layout
In this example, the image will retain its original size, no text wrapping technique has been employed, and the image may not fit exactly as you would like it.
Note: When the document is generated, the unrestricted image size has caused a page break, pushing the information table onto the second page.
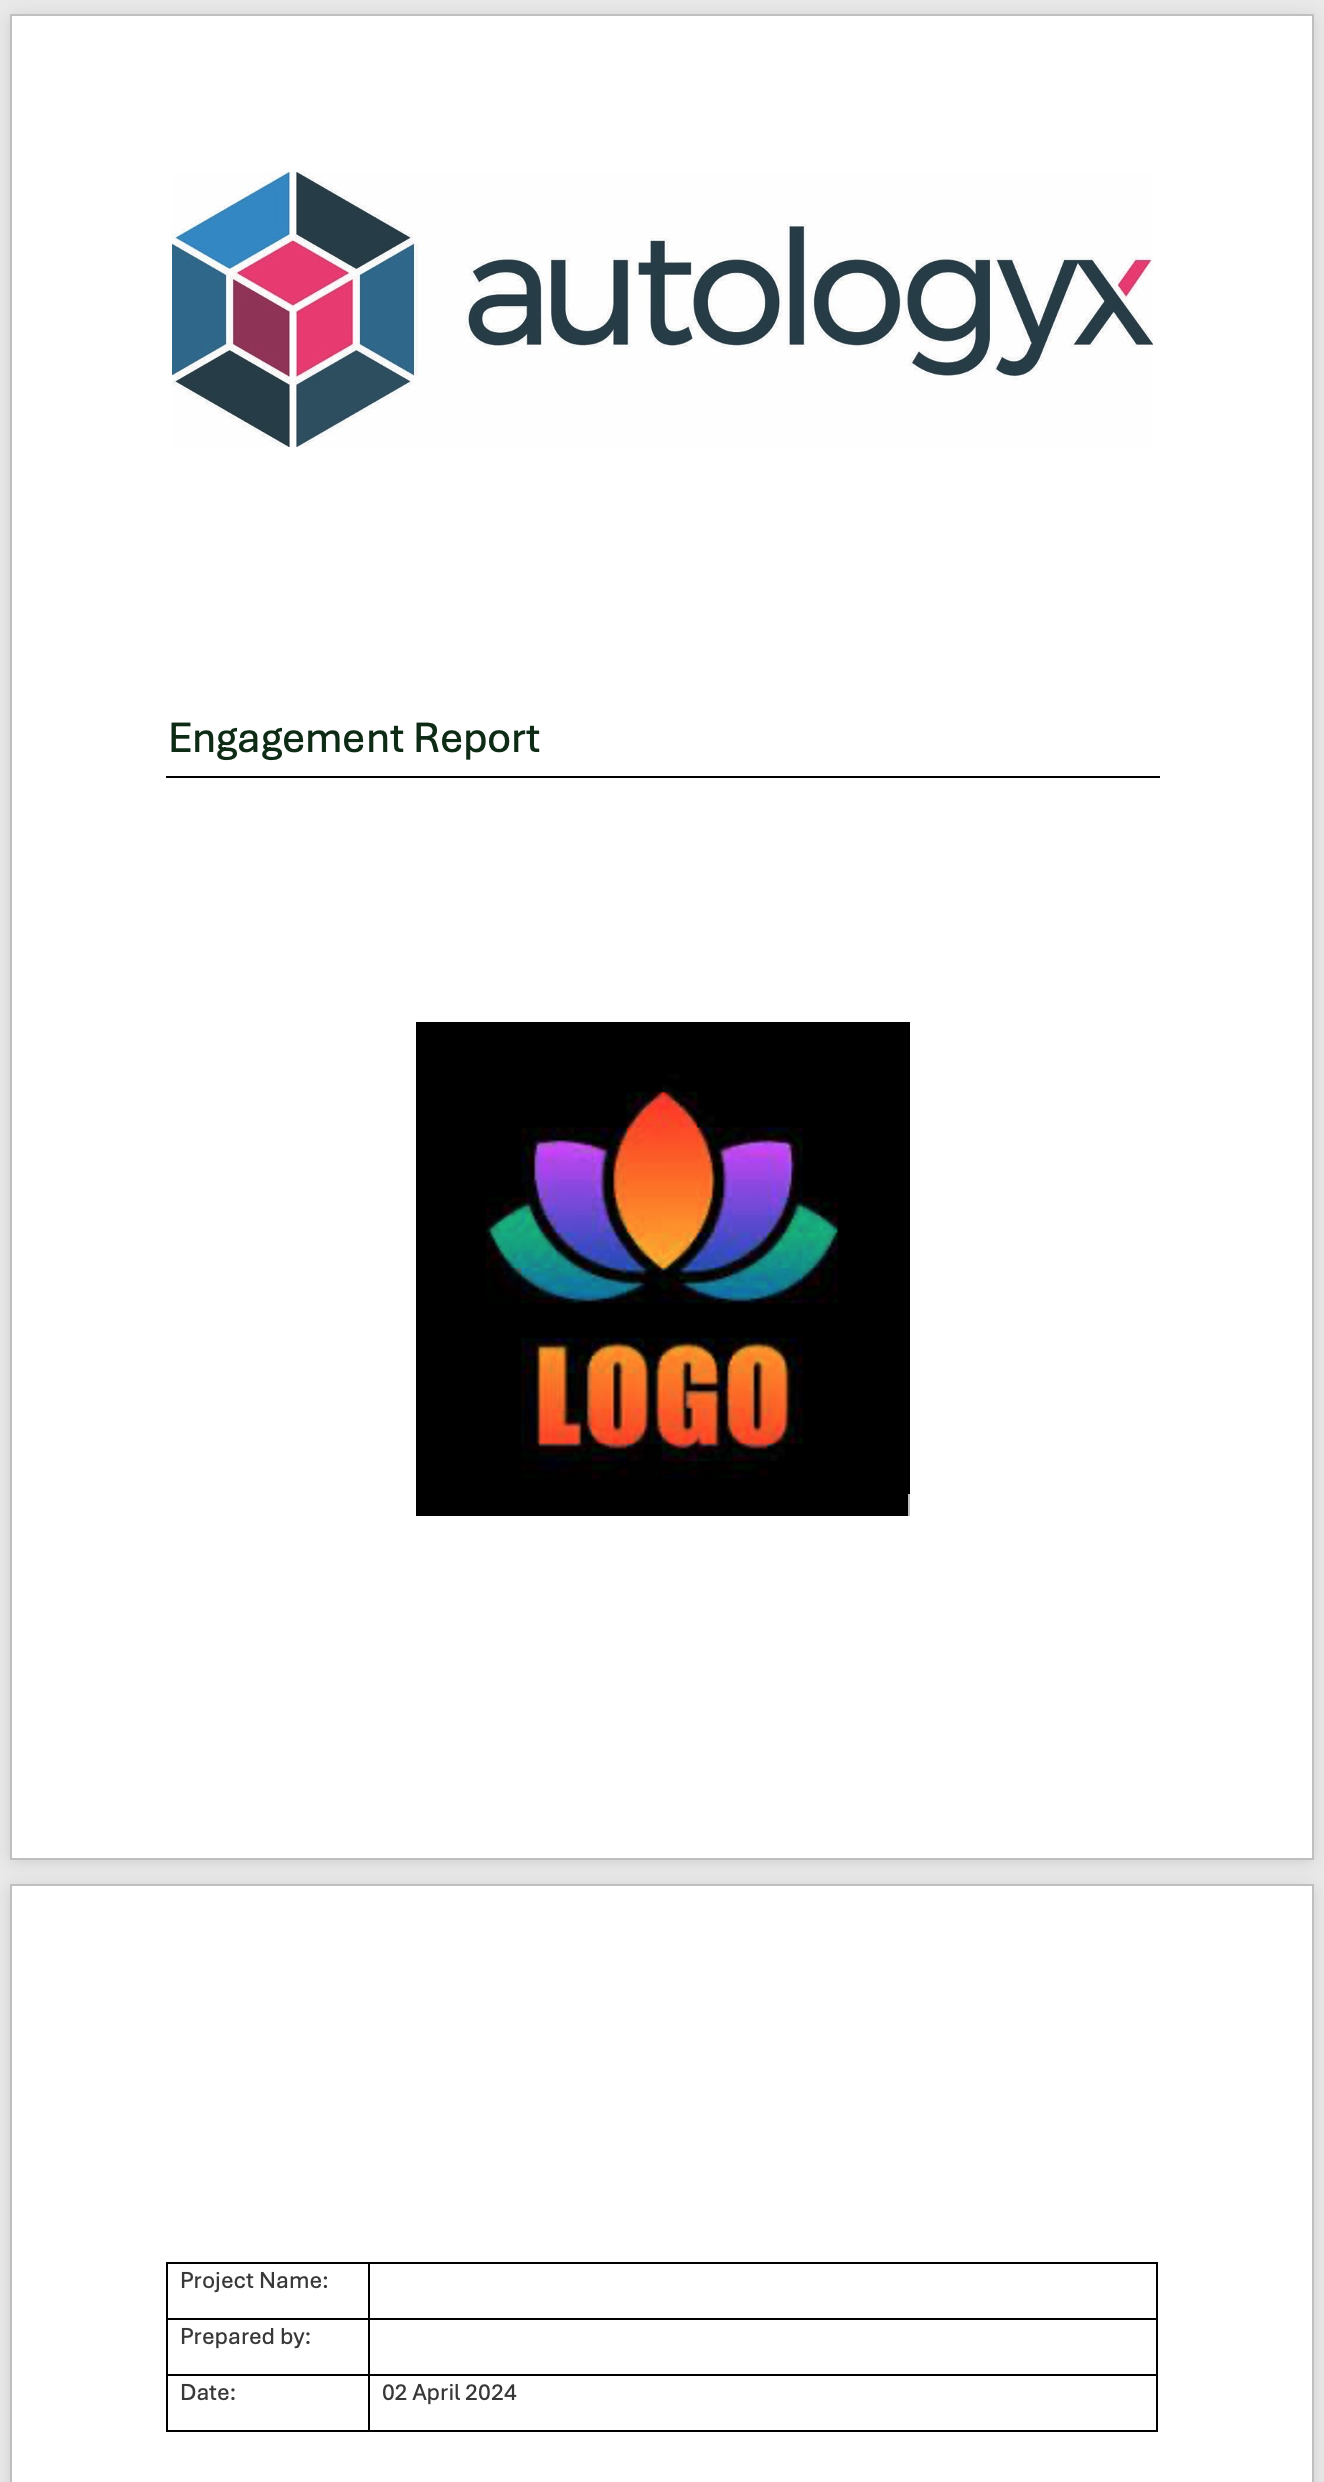
Recognising that the dimensions of images uploaded in document fields might not always align with the document layout, we've added a feature that enables you to tailor the image size according to your document's needs.
By using filters in the merge field, you can adjust the image width and height.
Format: {{record.field_customer_logo[0].embedded | img_width(40) | img_height(40)}}
The width and height measurements are in millimetres.
You can specify only the height or only the width if preferred, and the image will maintain its aspect ratio, thus preventing size distortion.
To optimise the placement of the image in your document, you can use a text box with the dimensions and positioning of your choice. Insert the image merge field inside the text box either with or without filters. This is particularly useful when the image is merged into text within a paragraph or next to a section of text.
Remember: Remove the border from the text box before you save the document template.
Generate the document
Complete and save the document template against the object class.
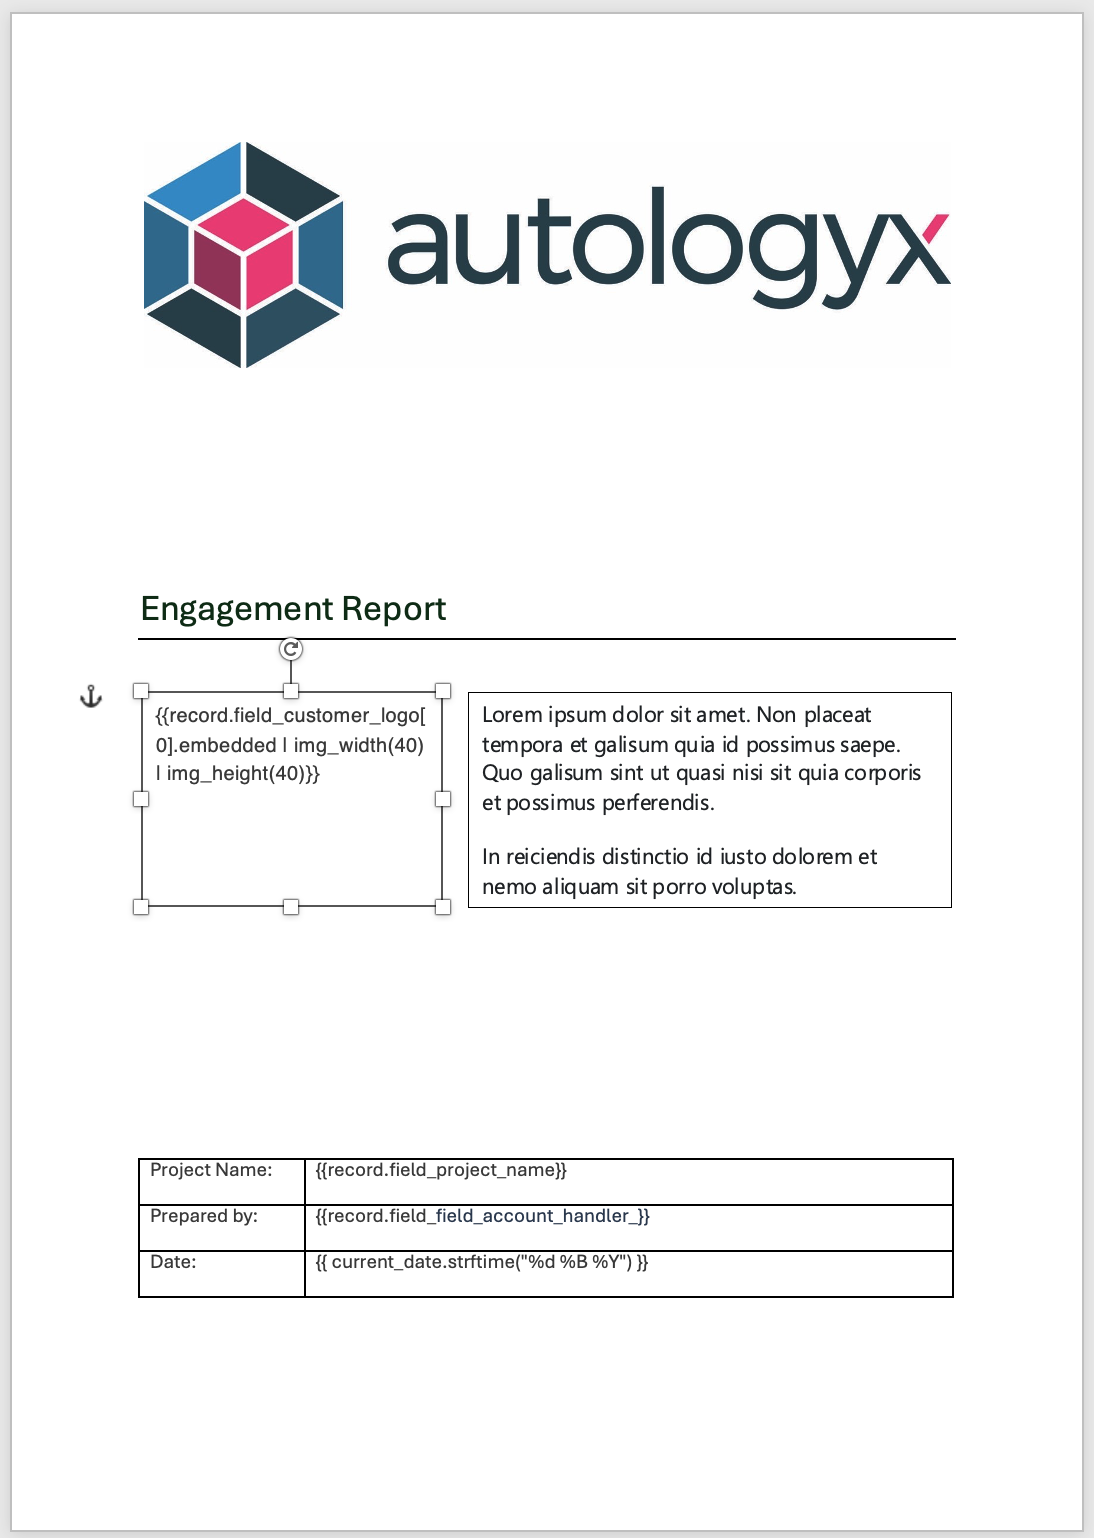
This time, when the document is generated, the logo is smaller and aligned with the text. The page layout has remained intact.
Click here for a guide to automatic document generation using the sequencer.
Click here for a guide to manual document generation from the side panel.
Useful info
- An object class can contain up to 2000 fields.
- An object class can contain up to 1000 document templates.