Create a Standalone Form
A standalone form is used for the creation of records in an object class. It will therefore only contain object class fields, ie not non-object class fields.
A link to the form can be made available via a link on the landing page or hosted away from the application, if required. However, a user of the form must have permission to create records specifically for that object class, and they will be required to log in to the form in order to use it.
Who can create a standalone form
Users with one of the following can create a standalone form:
- Super admin account type
- Config admin account type with a Role which allows them to Edit object classes
- Owner of the object class
- Permission set allowing them to Edit the object class
Steps for creating a standalone form
- Navigate to the required object class and then to the Forms tab.
- Click the + Create button.
- The canvas is presented as the below screenshot with one Section. Enter a name. This field is mandatory and must be unique in the scope of the object class.
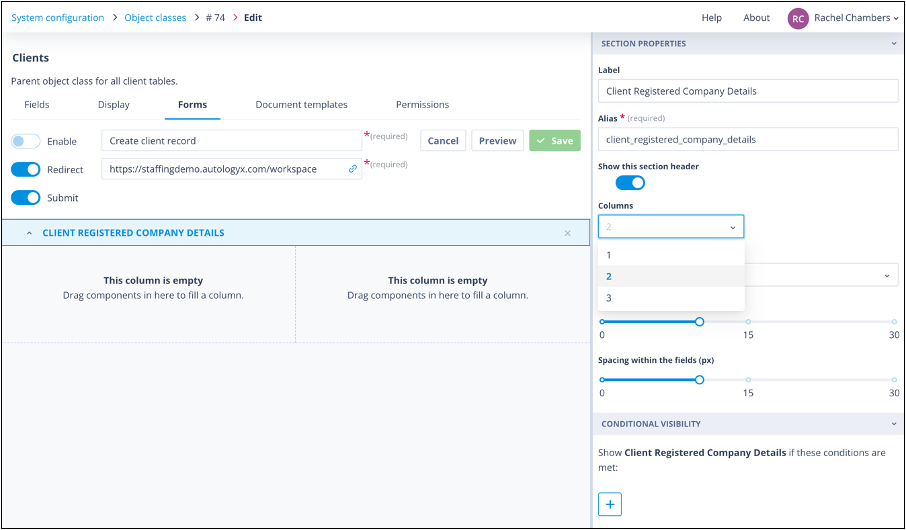
Buttons above the section
There are 3 buttons on the left-hand side above the section:
- Enable - this will remain inactive until you have at least one field on the canvas.
- Redirect - once enabled, this allows you to enter a URL where the user will be redirected once the form has been submitted. If you leave Redirect disabled, the user will see the default confirmation, as below, on submission of the form:
- Submit - this button is enabled by default. Disabling it will mean that the default Submit button will be removed from the form. Users will still be able to create records if the form is used on the landing page in an Element - which has its own submit button - or in an Element with the iframe to a third-party system.
Click on the section and rename it in the side panel in the Label field. The Alias will be auto-populated but can be edited at this stage.
Configure the columns and drag on object class fields.
- Click on each field so that the side panel displays Field Options.
Options available on each field type
- Required - when enabled, this field will be mandatory on the form.
- Read-only - when enabled, the user completing the form will see the value but not be able to edit it.
Input type will be available for some field types. For example:
- Text - Single or Multi line (shown below)
- Single select - Dropdown list or Radio buttons
- Continue adding sections and fields, and use conditional logic where required.
Useful buttons while creating and editing the form
Use the Preview button at the top right-hand side to check that the form looks and performs as you want. Two other buttons in this location are also useful while creating and editing the form:
- Revert - clicking this will remove any unsaved changes and revert the form to its last saved state.
- Cancel - clicking this will return the user to the Forms list.
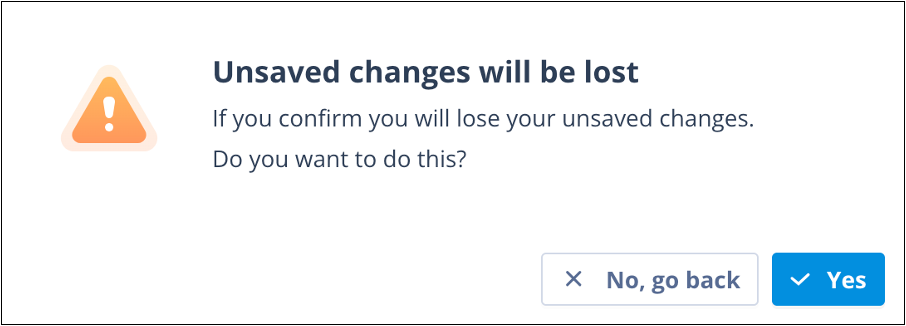
If changes have been made and not saved, in either case the user will be required to confirm the action.
| Revert | Cancel |
| revert.png | cancel.png |
Remember to Enable the form and then Save.
You will be taken to the Forms tab where you will see the form at the top of the list.
There is a column configuration function on this list but, in default mode, you can clearly see under the Status header whether the form has been enabled.
The Name and URL column headers cannot be removed from the list.
Alongside the URL is a copy button. The Actions menu also contains an option to Copy URL.
Other available column headers
- Created and Created by - these will show the date/time the form was created and the user who created it.
- Last edited and Last edited by - these will show the date/time the form was last edited and the user who did this.
- To test the form, open a new browser tab and paste the copied URL into it.
Note that the submit button will not be enabled until all mandatory fields have been completed.
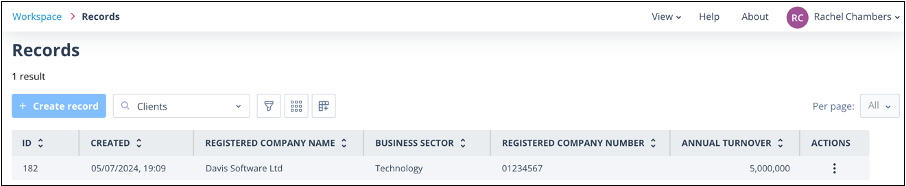
- Once submitted, go to Workspace/Records and filter to the relevant object class. Depending on whether there are already existing records and how the list is sorted, the record may be added to the top, as below.
Related articles
These articles will provide more details to help you construct the form:
[SECTIONS AND INSTRUCTIONS](/knowledgebase/record-and-task-forms/formbuilder-components/layout---sections-and-instructions/)Useful info
- Each object class can have up to 100 standalone forms.
- Each standalone form can have up to 200 components (sections, instructions and fields).