Creating Object class fields
This article assumes that the User has the appropriate Role and/or Permission set to allow them to edit an Object class.
Overview
When in an Object class edit page, the first of five tabs provides an area where fields can be created, edited and removed. The Actions menu also has an option to View usage.
The screenshot below shows a newly created Object class which has not yet had fields configured for it. You will note that the field counter at the top left-hand side of the tab is zero (0).
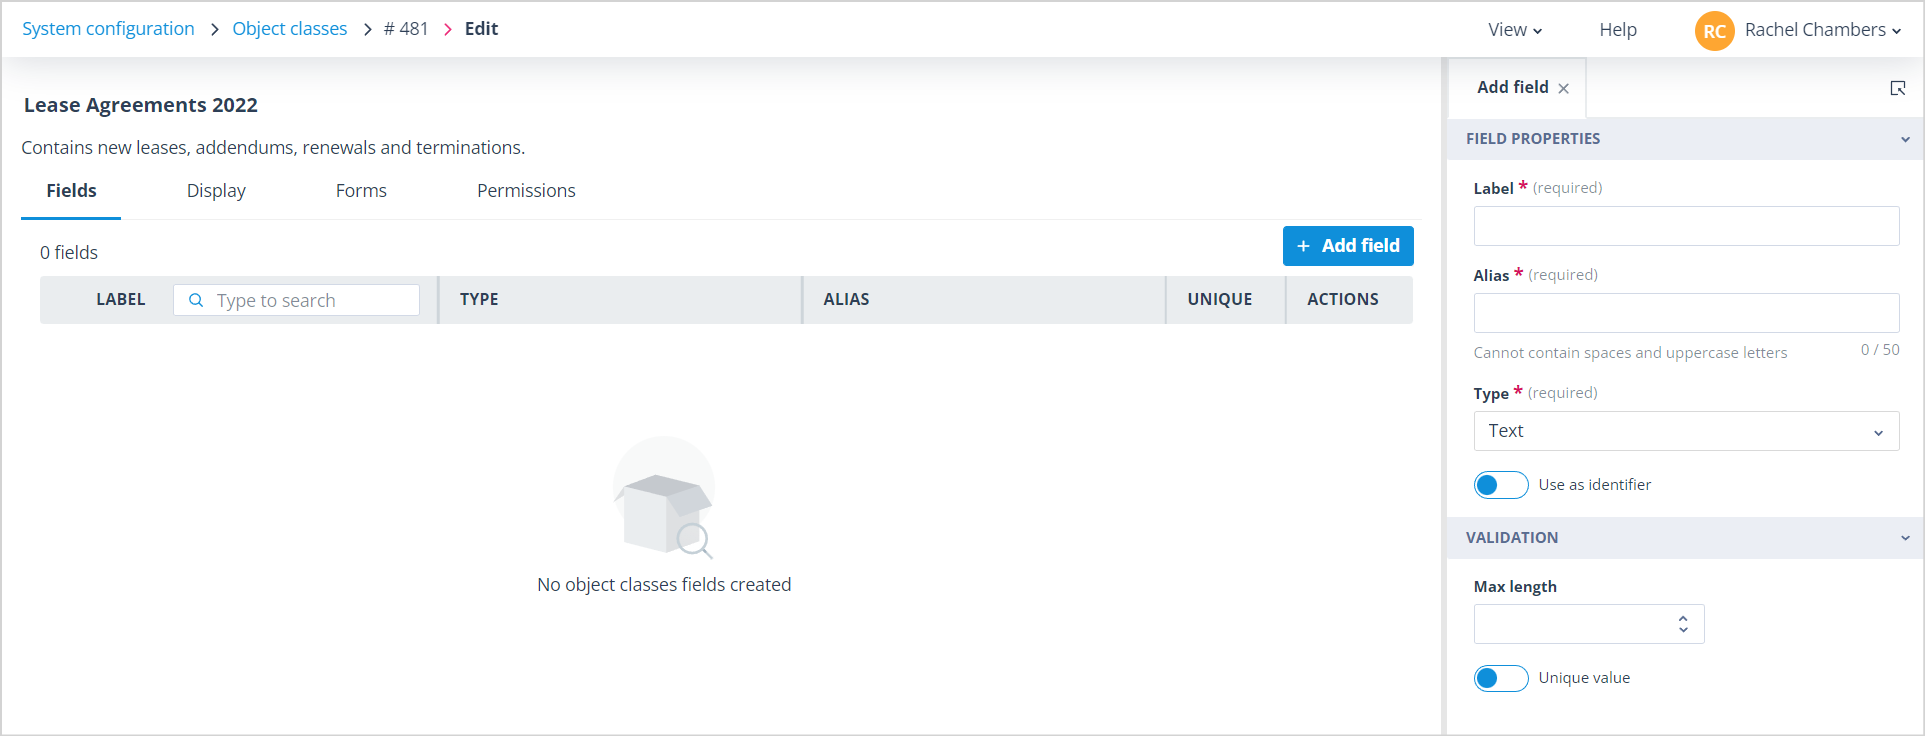
Add a field
To add the first field, click the + Add field button on the top right-hand side of the tab. This will open the Add field panel.
The Add field panel can contain up to three different sections depending on the field Type that is selected. It opens with Text Type selected by default. All sections are collapsible.
Field Properties
Under the Field Properties section, which is present for all field types, there are three mandatory fields:
- Label is the field name as displayed on the Object record. Unlike the Label field on a Task form, the Label here must be unique in the scope of the Object class. The maximum number of characters allowed in this field is 100.
- Alias: again, this value must be unique in the scope of the Object class. Initially the Alias is populated from the Label but you can change it if required. However, if a user edits the Label after the field has been saved, the Alias does not change.
| The Alias is used in merge fields. The screenshot shows an example where Object class fields have been merged into a Send Message Actor which is part of an automated workflow in a Sequence. Aliases are also used in API requests and responses as well as document templates. | mceclip0.png |
- Type: this is a drop-down, single select list of the available field types. View information on field types, their uses and attributes.
Selection Options
The Selection Options section is only shown for field types Single select, Multi select and User. This allows you to define what options will be available in the drop-down, radio buttons or checkboxes for the select types, and which users will be available in the User field.
Validation
The Validation section is shown for field types Text, Integer, Decimal, Multi select, Email, Phone, Document and User. It allows you to add validation such as force unique value, maximum/minimum number of selections or number of documents allowed.
Configure your new field as required. Note that the + Add button will remain disabled until all mandatory fields have been completed in the Add field panel.

Click the + Add button on the bottom right-hand side of the panel. The green toast success message will be shown on-screen. Note that when the field is saved, the Add field panel remains open so that you can continue adding further fields. Each new field added will appear at the top of the fields list.
Fields list
The Fields list contains five columns which are static; there is no column configuration setting. You can change the column width by dragging right or left on the column delineation. The column headers are self-explanatory.
It is worth noting that in any Object class you can have none, one or more fields for which, in the Validation section, "Unique value" is enabled. This means that no records in that class can contain the same value in a field marked Unique (see Agreement Number in the screenshot below).
The furthest right column is the Actions menu which, dependent on a User's permissions, has three options: Edit, View usage and Remove.
This list also has a Search field where you can search for fields by Label; search is not case sensitive.
Another important feature of this list is the ability to re-order the fields by dragging and dropping into place. However, please note that this feature is disabled if you have any side panels open or when the search filter is applied. The dotted drag-and-drop indicators are shown on the left-hand side of every row when reordering is allowed:
Identifier
Also noteworthy is the use of the Identifier.
Only one field in an Object class can be used as the identifier. If no field is given this property, the Autologyx ID Number will automatically be used as such.
The field marked Identifier will be shown for records in the:
| - top left hand corner of the card view | card_view_identifier.png |
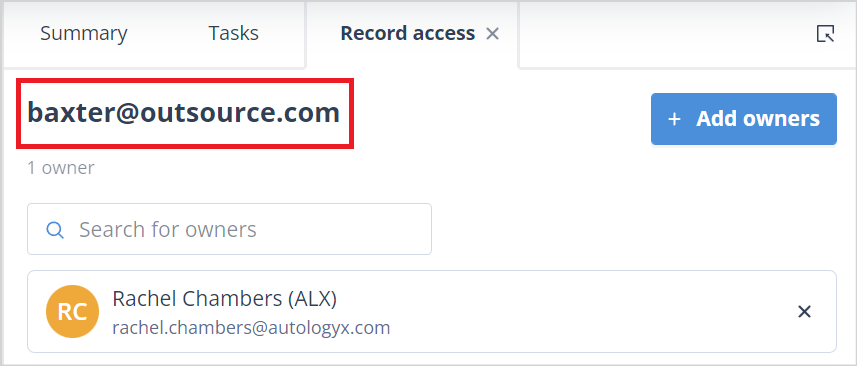
| - top of the Tasks, Templates, Activity log and Record access panels | record_panel_identifier.png |
Find out more about List pages and Card view list pages.
Useful info
- The maximum number of fields which an Object class may have is 2,000.
- If you enable the Unique value in any Object class field, this means each Object record where that field is populated must contain a unique value. This feature can be used to de-duplicate records within an Object class.
- Only field types Text, Integer, Email, Phone, Date, Date/Time and URL can be used as the Identifier. An Object class can have only one field marked as the identifier. If a User selects a new Identifier field, the previous Identifier is automatically checked off.