Creating the Relational model
View an article which explains who can create/edit the relational model.
Before you can use the Relational modeller to configure parent/child relationships between Object classes, your Object classes must have been created. Later, you will need a create/edit view enabled under the display tab for each parent class so that child object classes can be added to the parent view.
Open the Relational modeller
Go to the System configuration section of the main navigation menu. Click Relational modeller. If no relationships have been configured, the page will be displayed like this with a blank canvas.
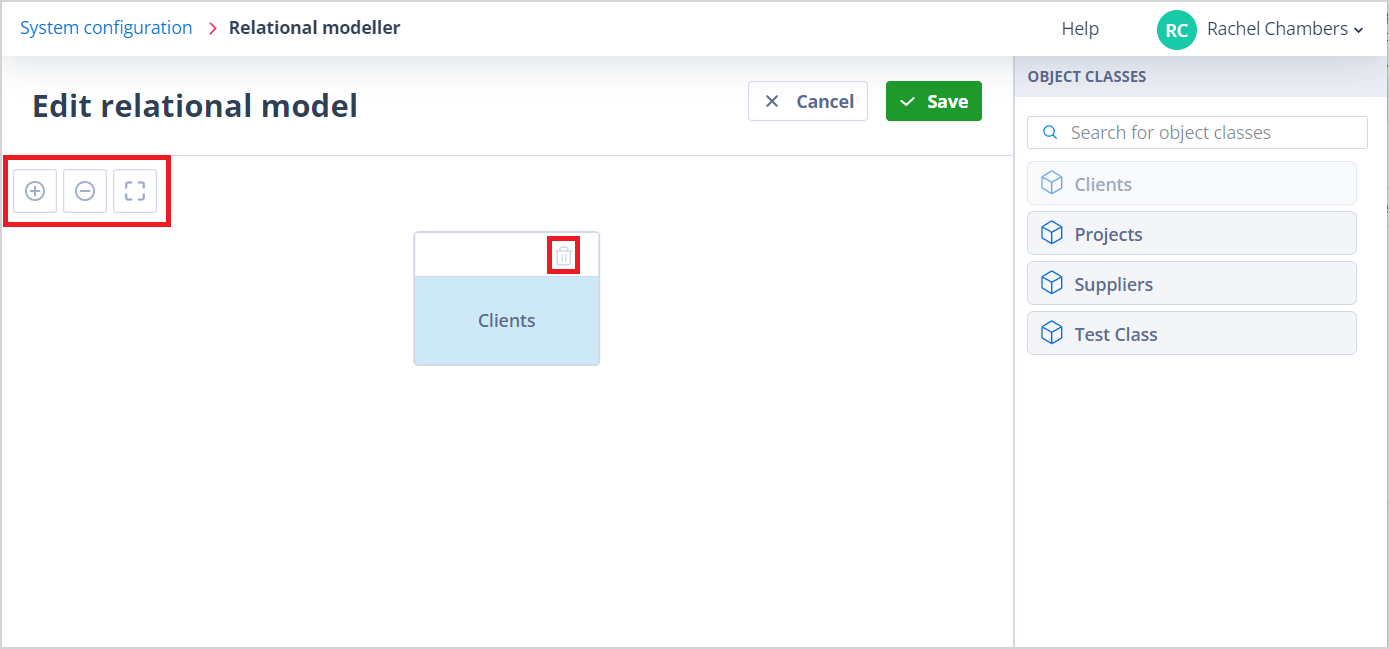
You'll notice that the page title is, "Edit relational model". This is because the Catalyst system is provided with a default empty model, so effectively you are in edit mode.
Page components
The page components are:
- Relational model canvas. There is a prompt on the canvas advising you to drop an object class on it to get started.
- Sidebar. All object classes are shown in a list on the right-hand side. They are presented in alphabetical order by the object class name. There is a search facility so that if your system has a lot of object classes, you do not have to scroll through them to find the required one.
- Save and Cancel buttons. These are available above the canvas on the right-hand side.
Build the model
Go to the sidebar and click, drag, and drop the first class for your model. This will automatically centre at the top of the canvas.
In addition, the starting prompt is removed and three control buttons appear on the top left-hand side of the canvas. These allow you to zoom in, zoom out, and reset.
There will be a bin icon on the object class which will allow you to remove it.
| In the sidebar your chosen object class will be greyed out as an object class can only be used once in the relational model. |
This first object class is a root parent class.
The next one you select can be either:
- Another root parent, in which case you can simply click, drag, and drop it onto the canvas in the same way as before. It will be positioned adjacent to the first, on the same level:
- A child of the first object class, in which case you drop it onto that first object class as shown below on the left.
| rm5.png |
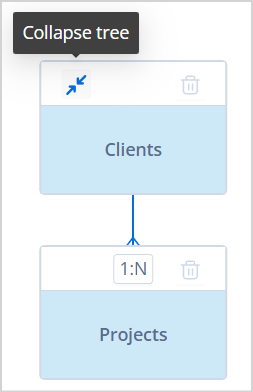
It will be positioned under the parent with a vertical connector between them.
The child object class will have a ratio selector on it as shown above on the right.
Ratio options
The ratio options are:
- 1:N ie one to many. This means that any one client record may have none, one, or more child project records associated with it.
- 1:1 ie one to one. This means that any one client record may have none or one project associated with it.
| The parent will have a collapse icon with a tooltip when hovered on, as shown. | |
| When the parent object class is collapsed, the tooltip changes and a new icon indicates that child object classes are hidden. |
Having selected the correct ratio, you can continue to build your relational model.
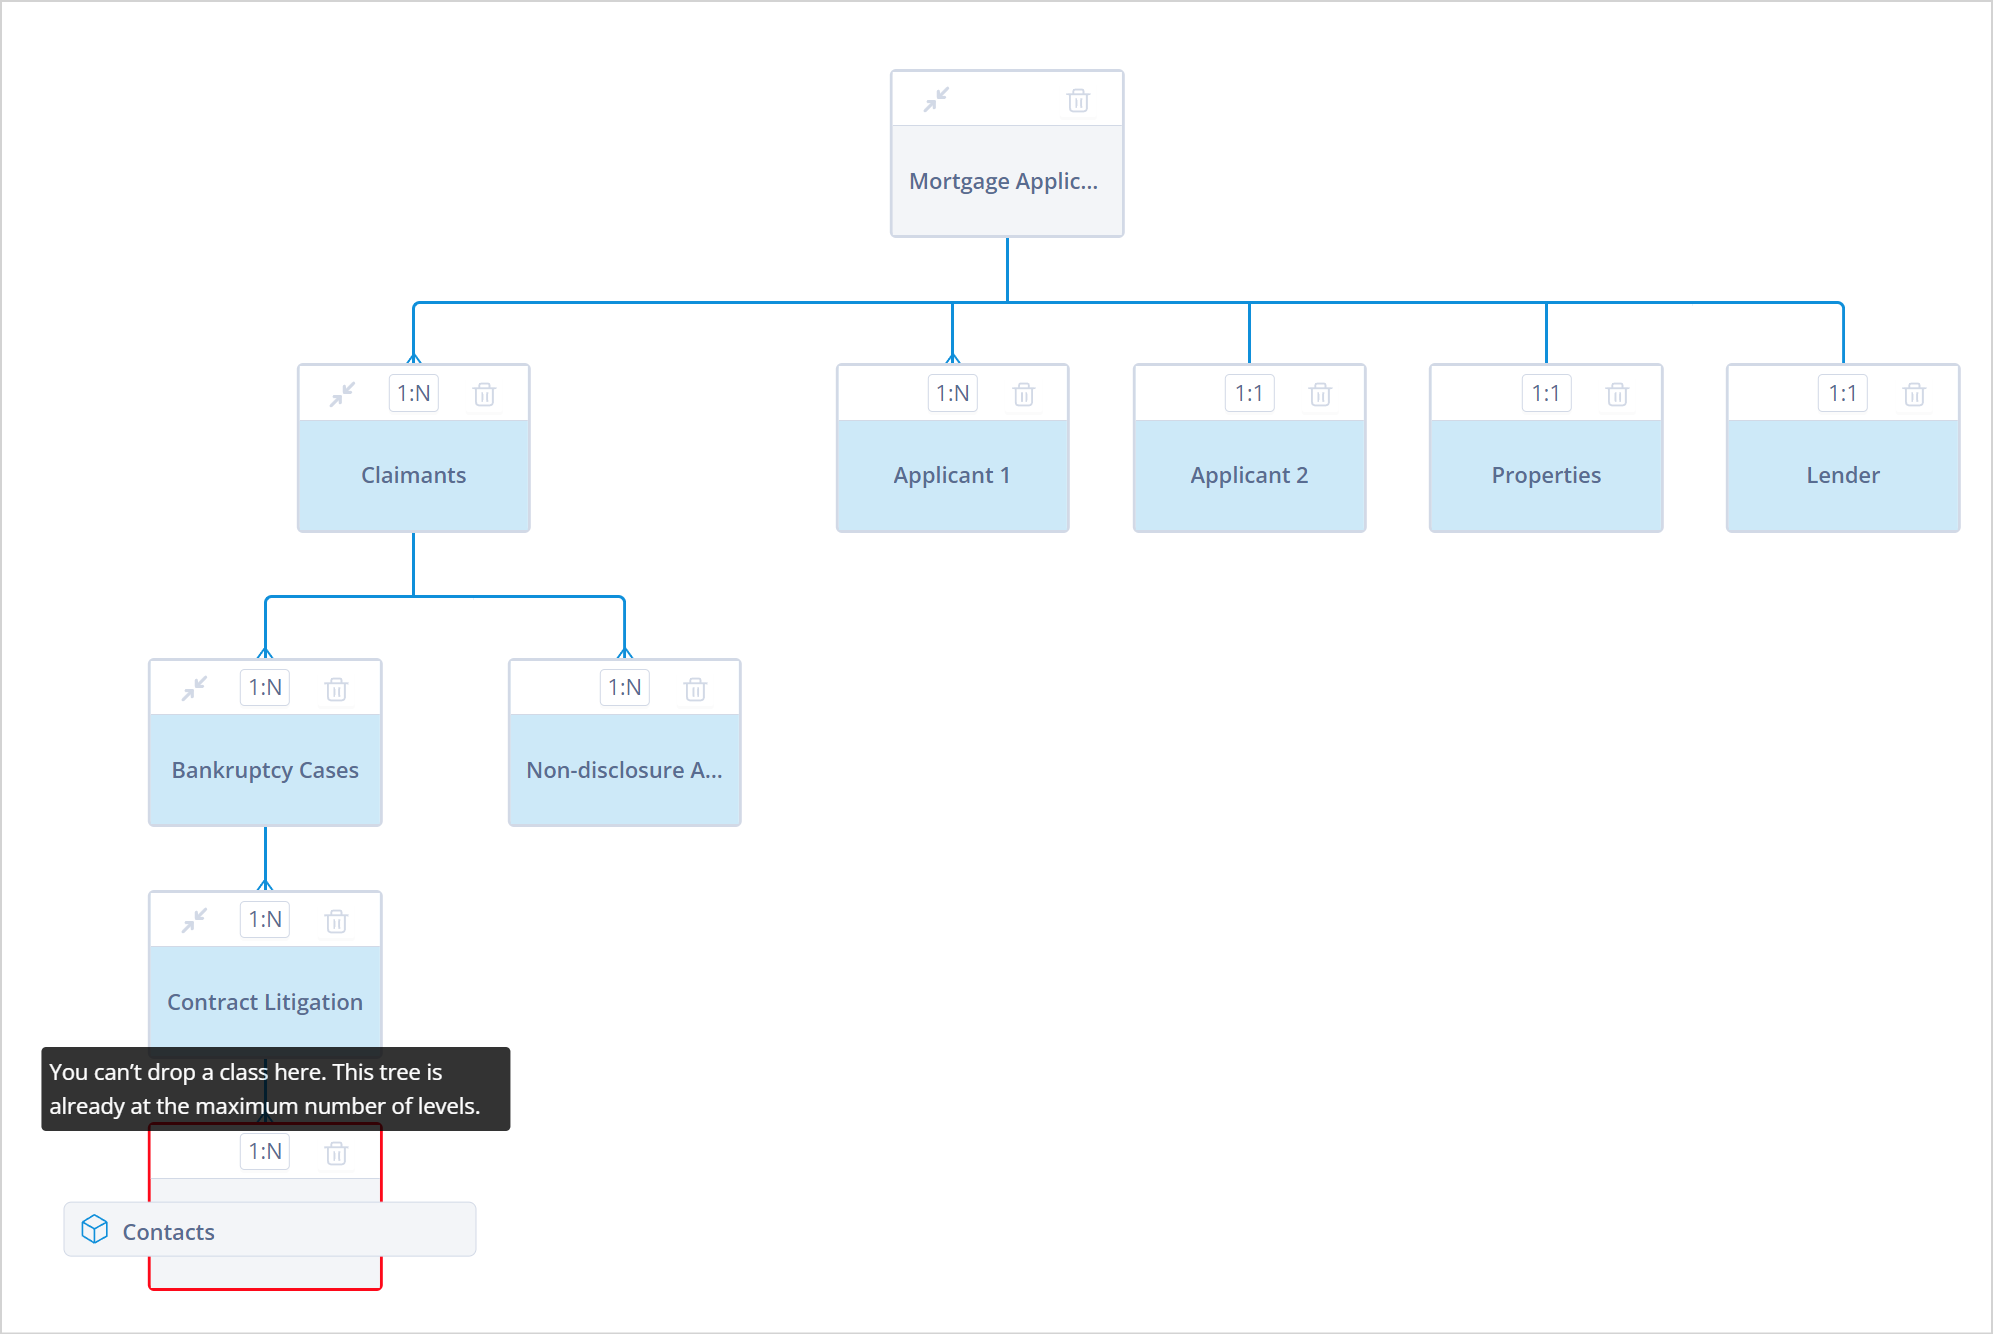
If more than one child is added at the same level, the vertical connector will join to a horizontal connector split to each child.
Model limits
Each parent class can have up to five child classes. The below error message is shown if this limit has been reached and the user attempts to add a sixth child object class.
Each tree in the relational model can be up to five object classes deep. The below error message is shown if the user attempts to add a sixth level.
The relational model can have a maximum of five root parent classes. When you add the fifth root parent object class, the below error message is shown and you will not be able to add any further object classes at the top level:
Save the model
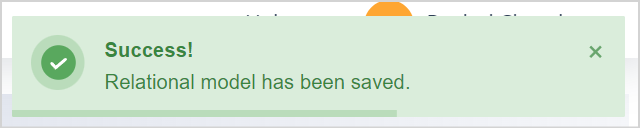
When you Save the model, you will be taken to the main System configuration page, and a green success toast message will be displayed:
When your Relational model is configured and saved, you will need to edit each parent object class in order to add the available child Object classes; this will provide the interface for a user to create relational records. Find out more about configuring relationships in object classes.
Find out more about the Relational modeller.
Useful info
- If you delete an object class from the model, all its descendents will also be deleted and that object class or classes will be available for selection in the sidebar.
- Object classes can be moved to a new parent or to the top level and become a root parent. When you do this, all descendent object classes will move too.
- The canvas can be moved (dragged) with the mouse when you hold down the shift key.
- The mouse wheel can be used to zoom in/out.