3. Creating an Authentication object for use with DocuSign
Before you start, it is important to understand the purpose of the auth object. In simple terms, it does two things:
- Provides refresh tokens to generate new access tokens before they expire, to ensure that the Catalyst system is always authenticated to “access” the DocuSign account
- Attaches the access token to the headers (the address for API calls)
Create the authentication object
In the Catalyst main nav menu, go to Administration / Authentication objects.
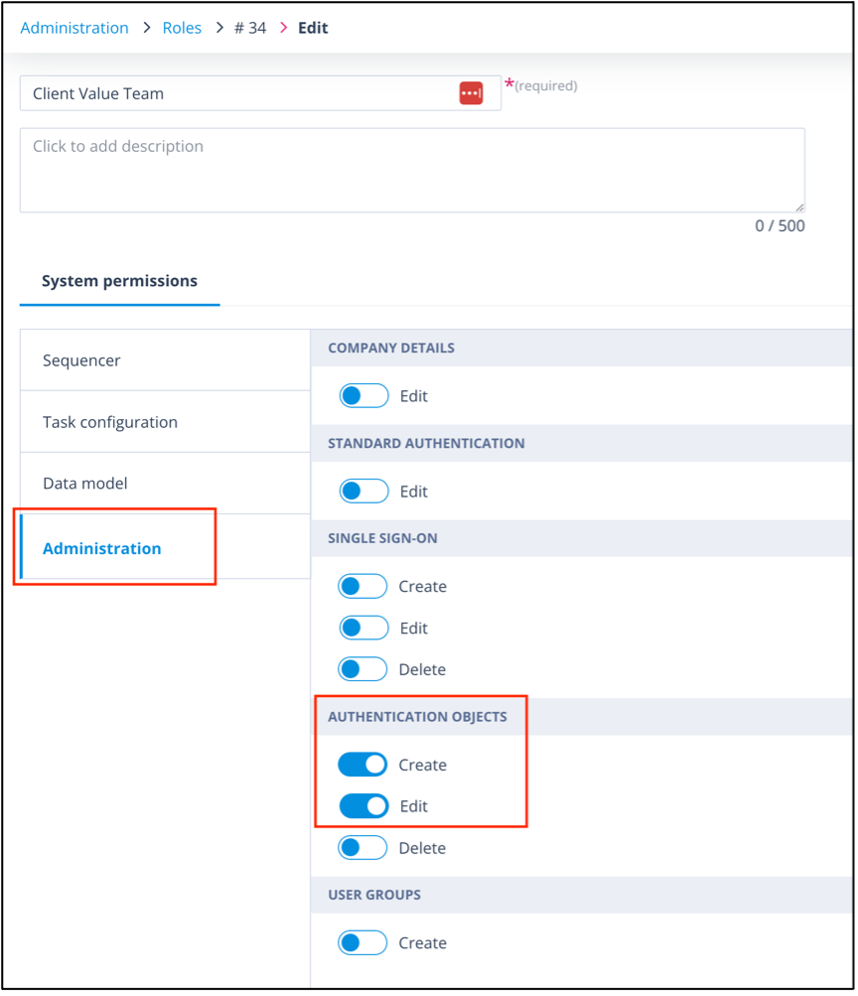
NB: You must have either a Super admin account type or a Role where Create/Edit are enabled for Authentication Objects, as shown below:
From the Authentication objects list, click + Create.
Give the auth object a name.
Bear in mind that you can set up your authentication object in your dev system with a dev/test/sandbox DocuSign account. This can be migrated to live and then changed to use the details for your live DocuSign account, but you will have to go through the following steps to make each authentication object live. Click here for more information.
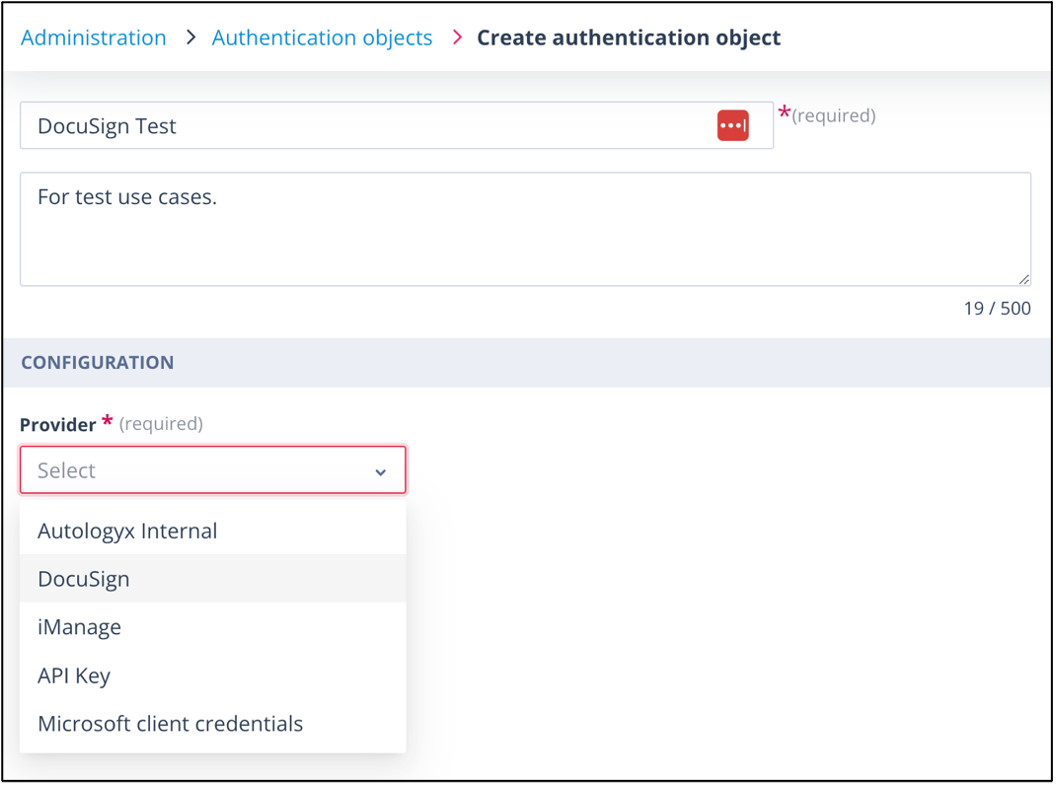
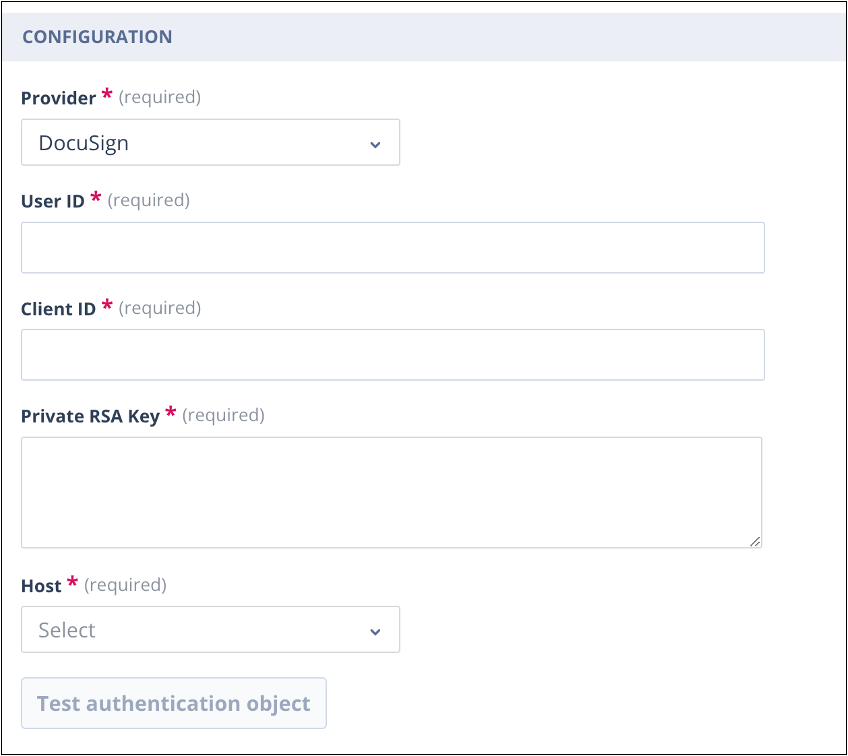
In the Provider field, select DocuSign. The following fields will be presented:
Copy values from DocuSign
From your DocuSign Settings / Integrations / Apps and Keys, copy and paste the User ID into the User ID field in the authentication object.
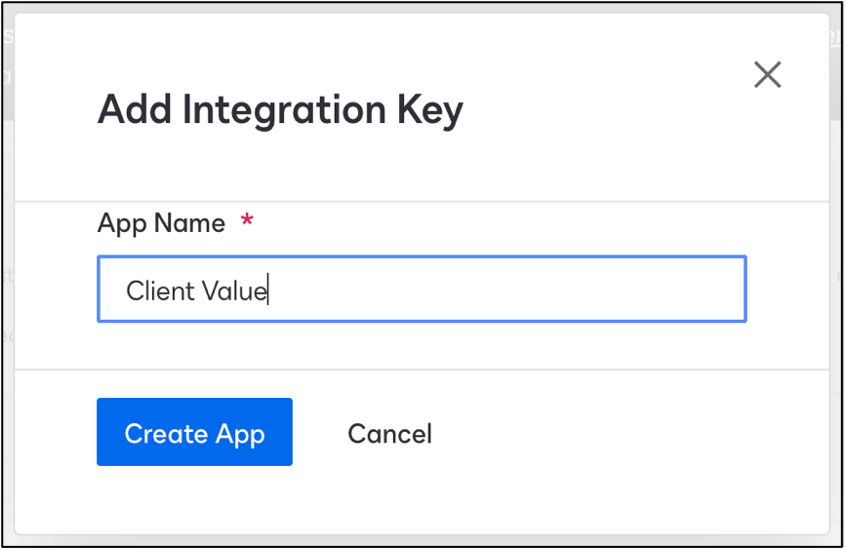
Back in DocuSign, click the blue Add App and Integration Key button. You will be prompted to give the new app a name; click Create App.

Copy the Integration Key into the Client ID field in the authentication object in Catalyst.
Go to the Service Integration section of your DocuSign app. Click Generate RSA.
A pop up will provide the Public and Private Keys.
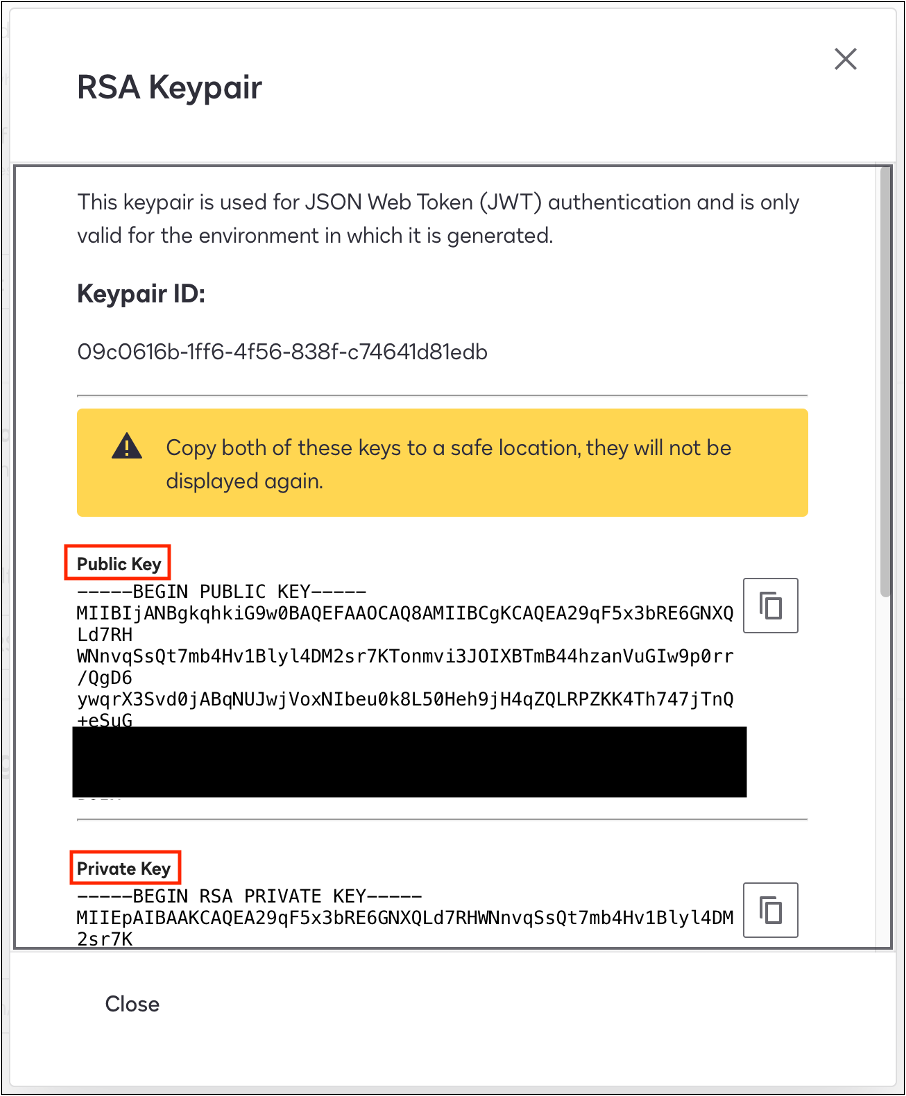
Copy the Private Key. It is a good idea to save this to a notepad as once you close the window you will no longer be able to access these keys. Paste this into the Private RSA Key field in the auth object in Catalyst.
You won’t need the Public Key. This is used by DocuSign in the encryption and decryption process when the two systems are sending and receiving data.
Add URIs and origin URLs
Go to Additional settings and click Add URI. You will need to add two.
- The first is the URL of the Catalyst instance for which you are creating the app.
- The second is: http://localhost – this is used to generate a one-time access token. Following this, Catalyst will use refresh tokens as previously described.
Click Add origin URLs; again, you will need to add the Catalyst instance URL as one and http://localhost as the second.
NB: Do not include trailing forward slash at the end of your URL.
This section is important because it acts as the allowed domains list. It provides an added security measure to stop hackers accessing the account; in other words, to prevent cross scripting attacks.
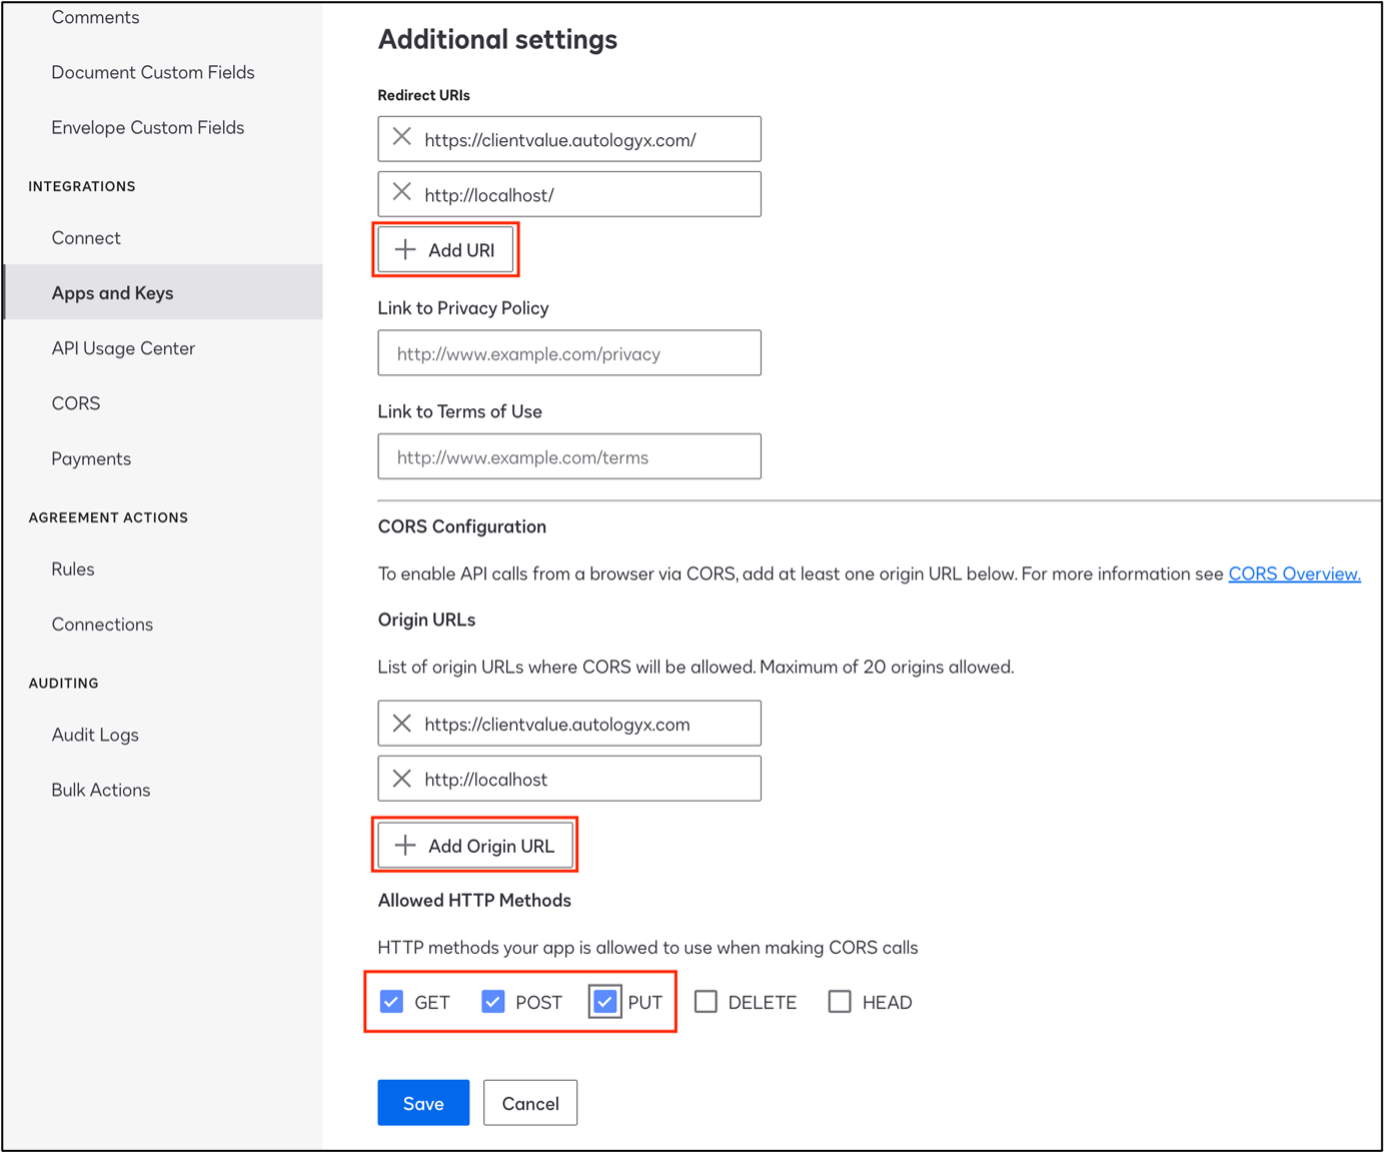
Having selected the call types you require for your integration (most commonly used will be GET, POST and PUT), click Save. You will be taken to your Apps and Integration Keys list where your new app will appear in alphabetical order.
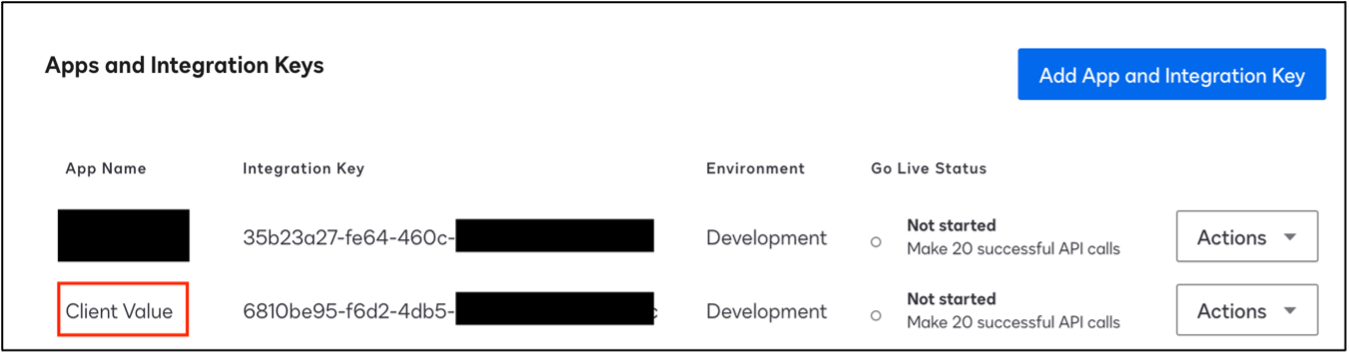
Grant permissions to the app
Next, you need to grant permissions for the API to access to the new app.
You will need the link below but ensure that you copy and paste your Client ID (Integration Key from your DocuSign app) in place of the redacted one shown. The name, also highlighted in the link, can be anything you wish. Note the link shown here is for a developer or test account - the first part of the URL contacts....account-d.docusign.
https://account-d.docusign.com/oauth/auth?response_type=code&scope=openid signature impersonation&client_id=6810be95-f6d2-4db5-b686-baxxxxxxxxx&state=clientvalue&redirect_uri=http://localhost/
Put this into a new browser tab/window.
You will see the following screen:
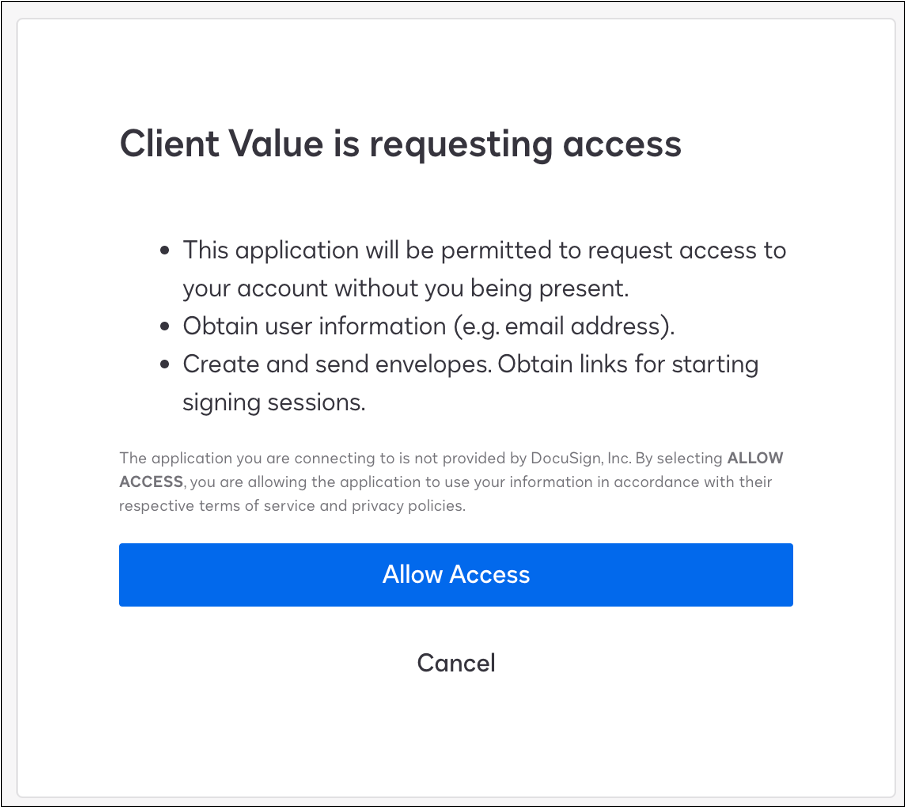
Click Allow Access.
You will see the below screen. Don’t be concerned that it looks like it hasn’t worked. This is what you want to see.
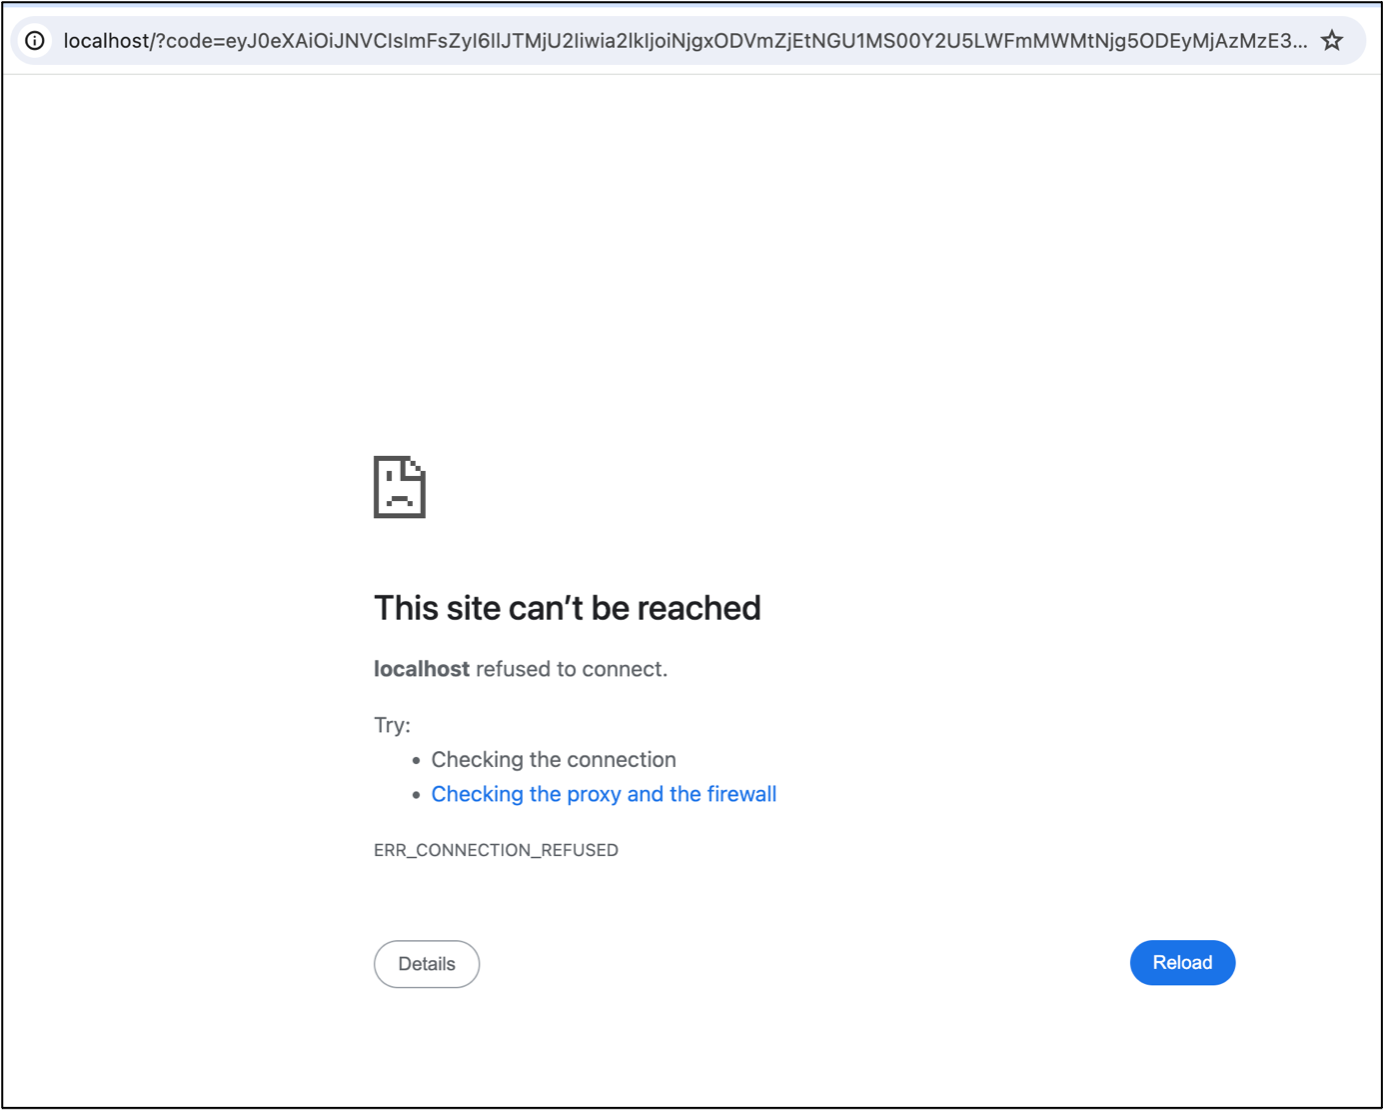
Test and save
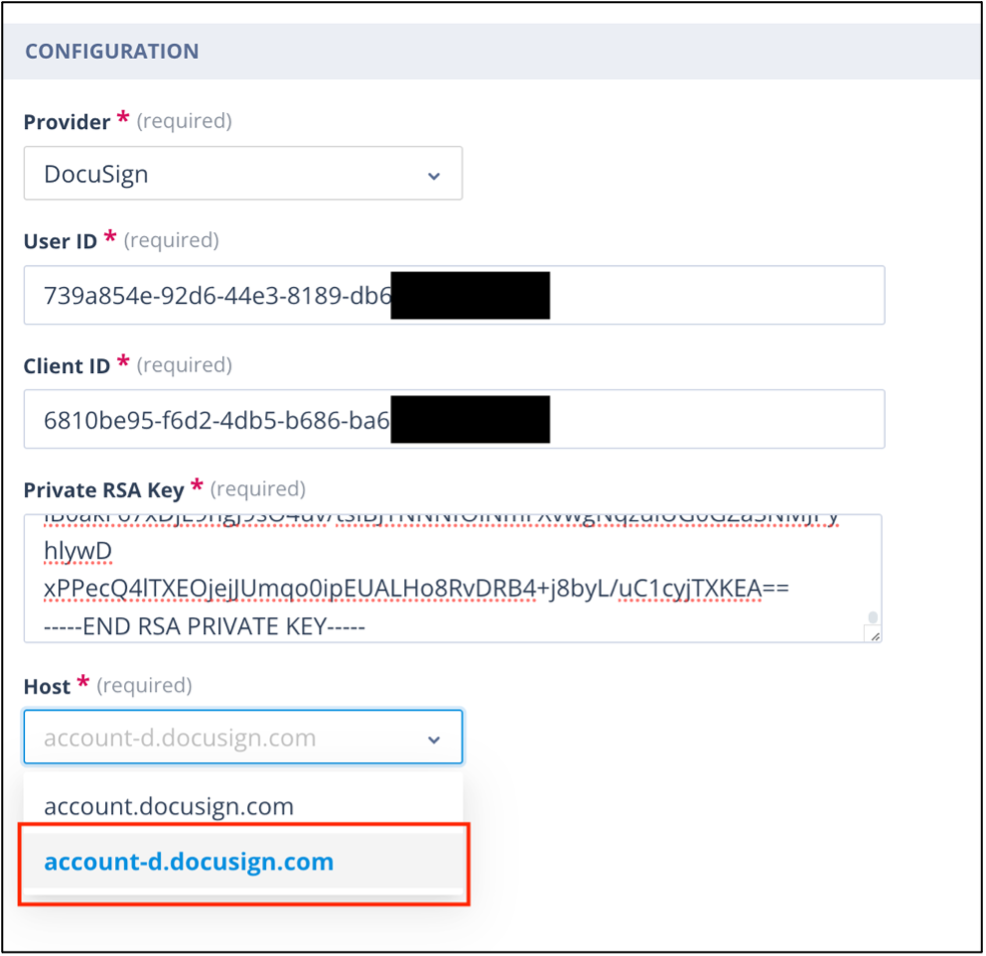
Finally, return to your auth object.
Ensure that the selection in the Host field is account-d.docusign.com for a developer or test account. Alternatively, if your Authentication object is for a live account, use account.docusign.com.
Click Test authentication object.
You should see Authentication success!
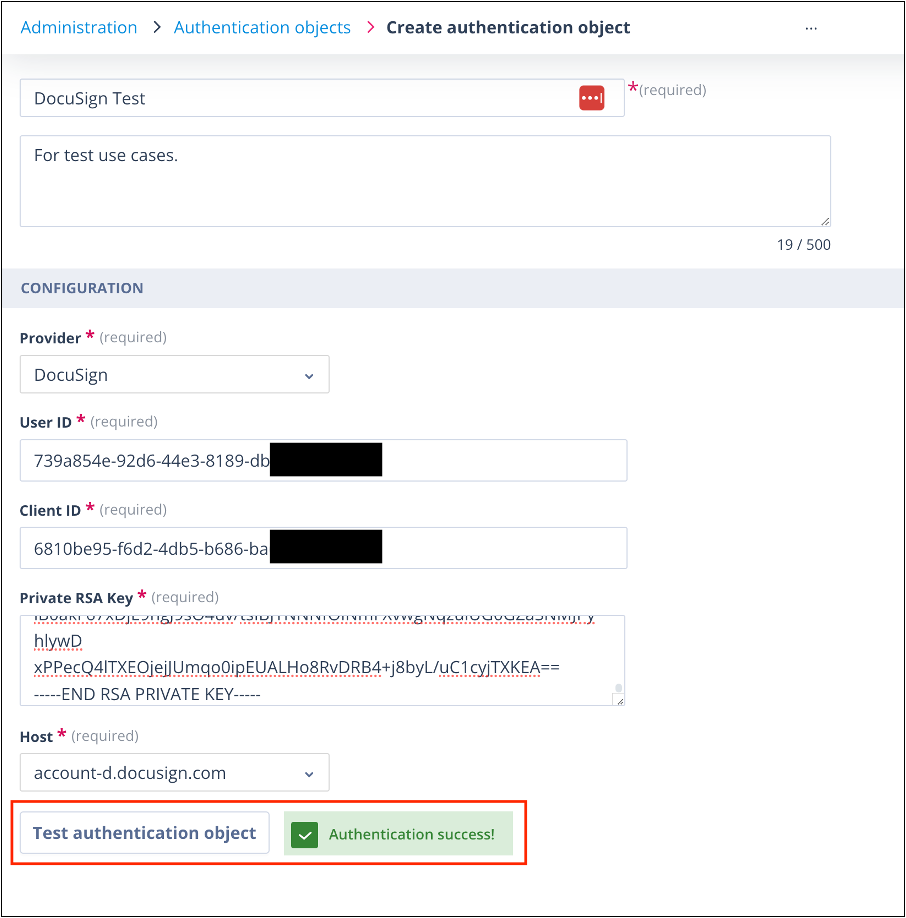
Save the auth object.
Once the auth object has tested successfully, for security, it is recommended to remove http://localhost from the URI and the URL in your DocuSign app.
The following article will explain how to configure an API call to create a DocuSign envelope where you will use your Authentication object.
Useful info
The maximum number of Authentication objects you can have in your system is 100.